1.1 START DEFGO – MENU ITEM DASHBOARD
Go to the website www.defgo.com:
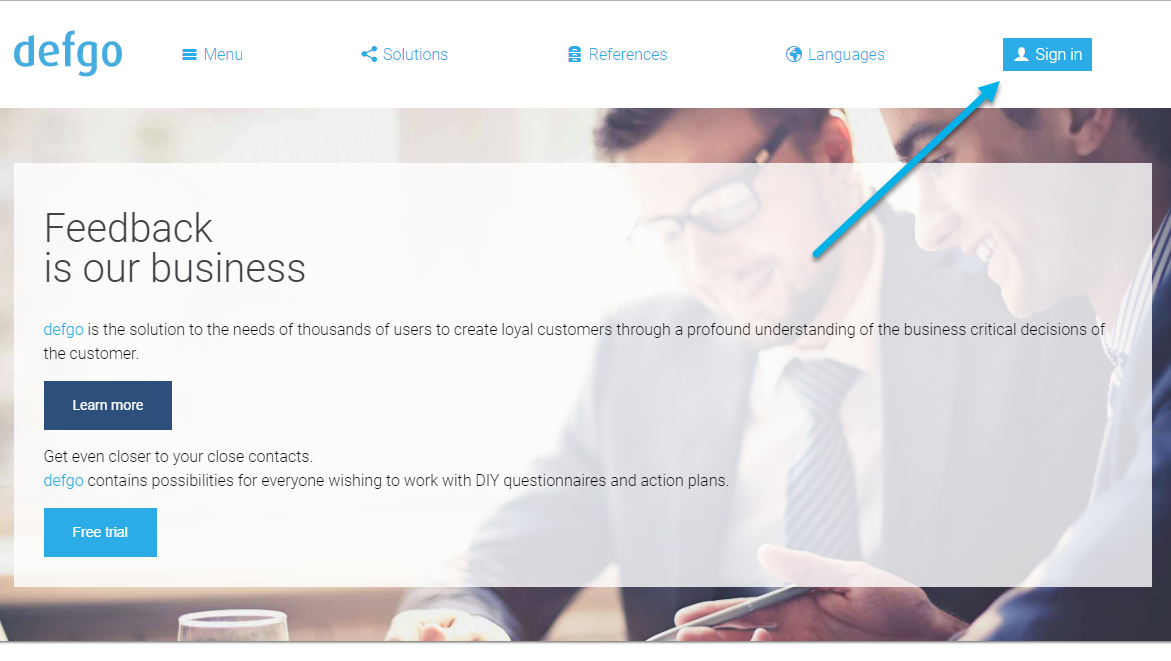
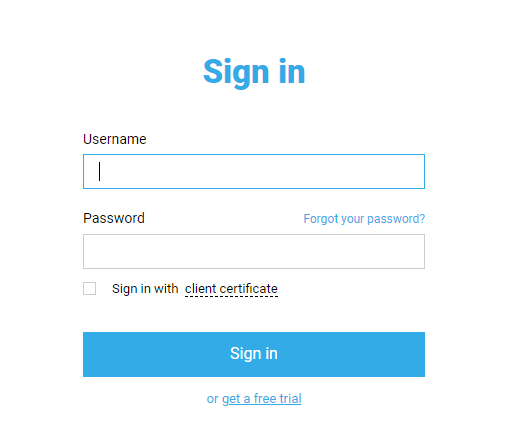
Click on Sign in. Enter your Username and Password.
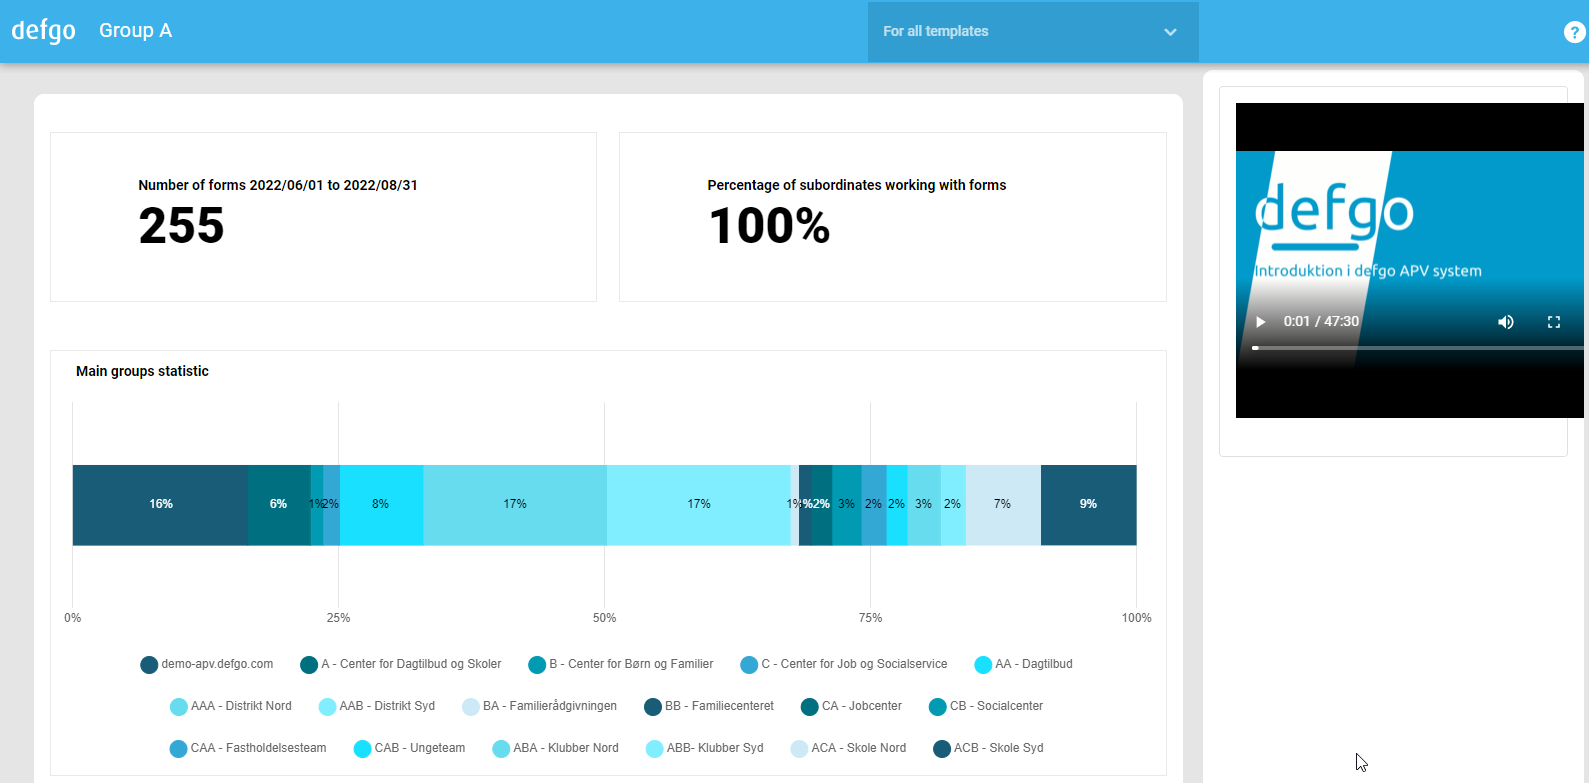
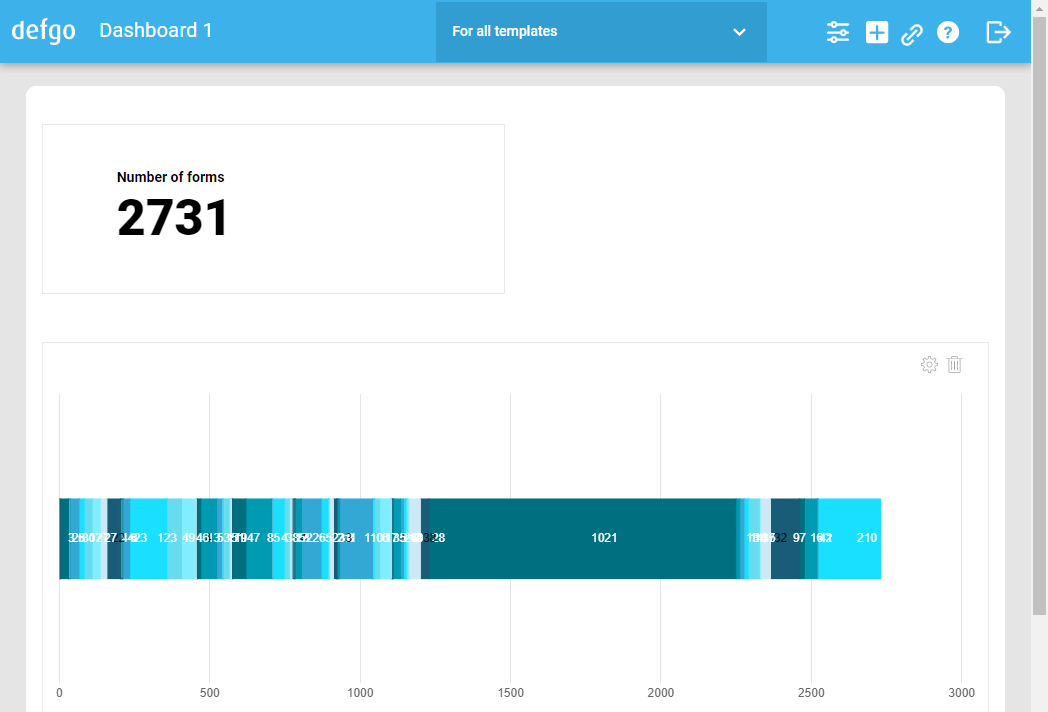
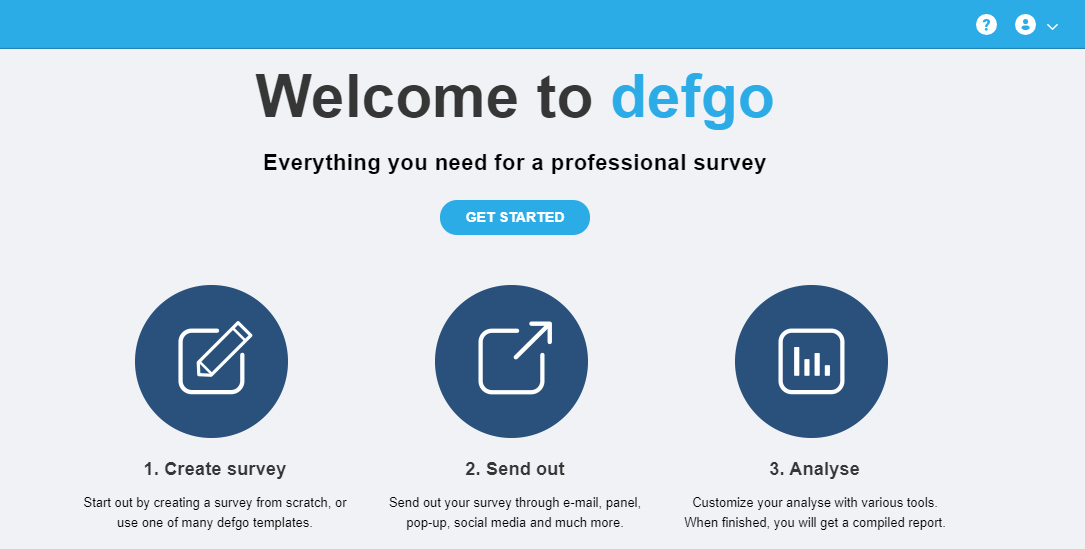
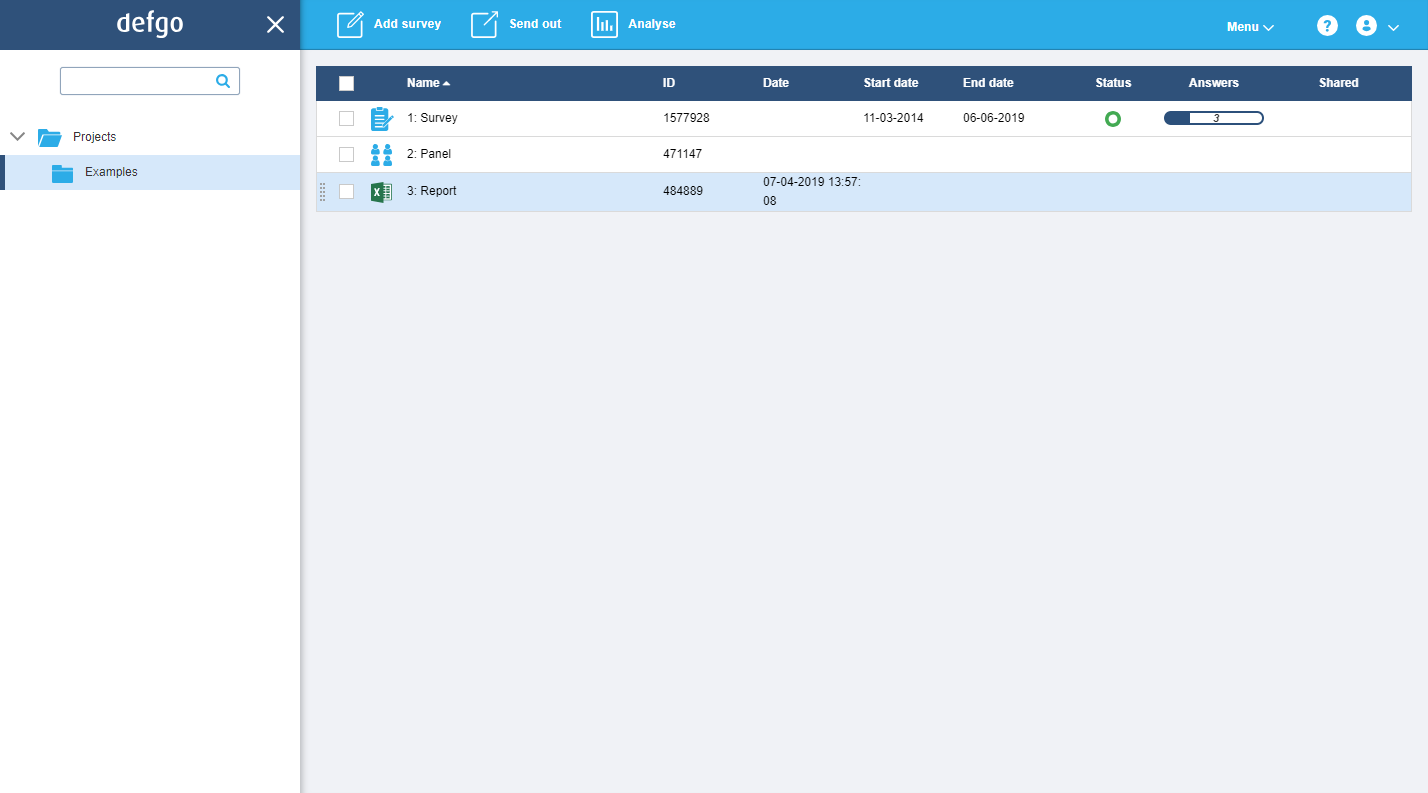
When you are signed in, you will see defgo Dashboard. Here you will also find defgos Support contact information.
1.2 ACCOUNT ADMINISTRATION – MENU ITEM PROFILE
Wnen a new defgo account is ctreated you will be sent an username and password. The password should be immediately changed.
CHANGE PASSWORD
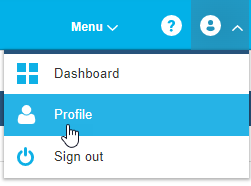
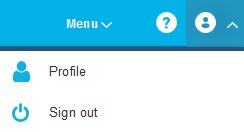
Click on the icon on the top right corner  , select Profile from the menu and select Change password.
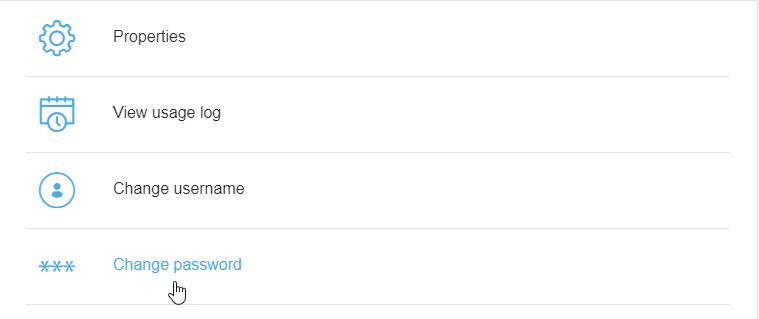
Password should consist of at least 8 characters and contain both letters and numbers.
If you are about to share your account with multiple users, remember that they must be informed,
if you changed the password.
LOCKED ACCOUNT
It is important to remember the accounts password: for security reasons an account will be locked if the wrong password is entred three times. The account can only be unlocked by the support.
FORGOT PASSWORD
If you forget your password, the support can reset the password for your account.
The support must not give a new password to account over the phone, but it can be sent to the e-mail address with which your account is registred.
You can change the e-mail address associated with your account when you need by yourself:
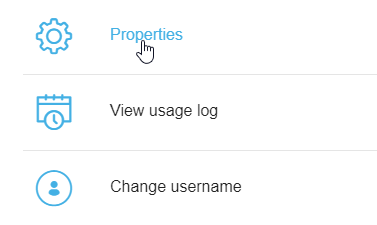
Click on the icon on the top right corner , select Profile from the menu and select Properties.
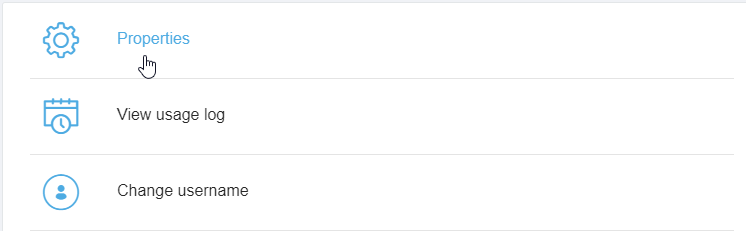
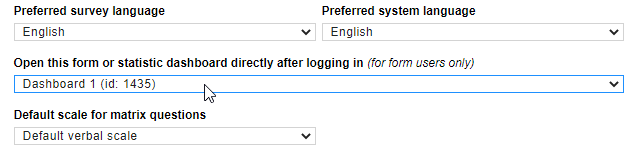
Properties dialog box opens and the e-mail address can be changed in the field E-mail:
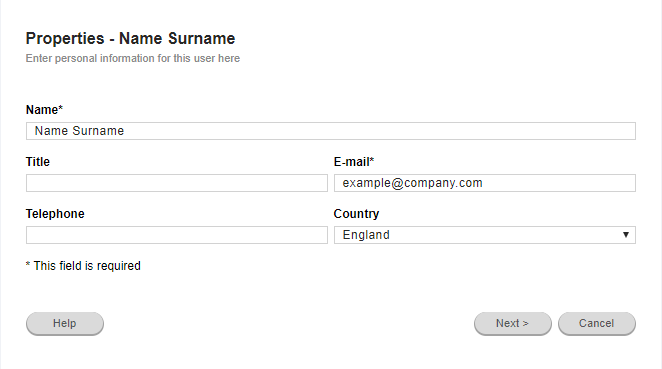
Click on Next and Finish.
At the defgo dashboard you have access to tools for creating a survey, reports, panels etc.
Click on the Project folder to open a survey:
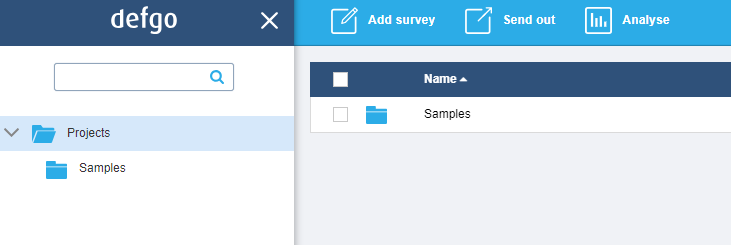
- Click the close icon to make more space for the dashboard:

- Or click the menu icon to open the left menu:

2.1 CREATE FOLDERS
The defgo dashboard is organized in folders, similar to the Windows structure. The folders have the same function: To keep order of files.
Create a folder:
Click the tool Create folder in the top menu.
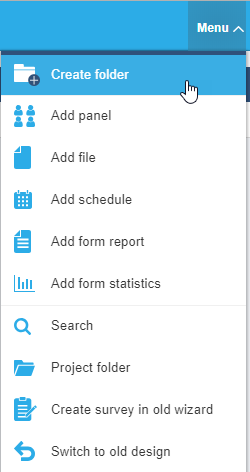
2.2 USE FOLDERS
Click to open a folder. An open folder is marked by a light blue background.
2.3 DELETE A FOLDER
To delete a folder, right click and select Delete.
3.1. CREATE SURVEY
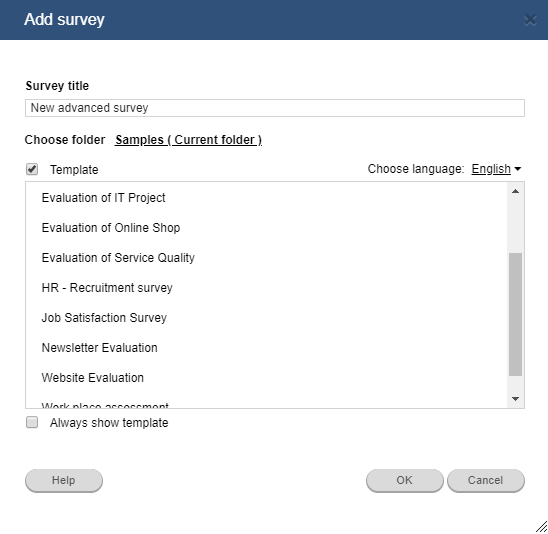
To create a survey click the icon Add survey in the topmenu.
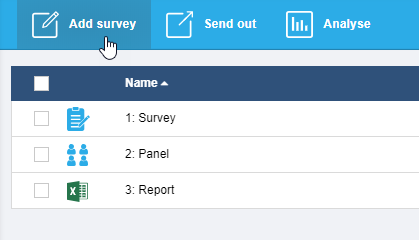
In the wizard choose between create a blank survey or a survey based on a template.
defgo templates includes: All defgo question types, Customer Satisfaction survey, Course evaluation, HR recruitmentsurvey etc.
The template is maintained and updated according to our customers needs.
The collection of templates can be extended with the users own template –
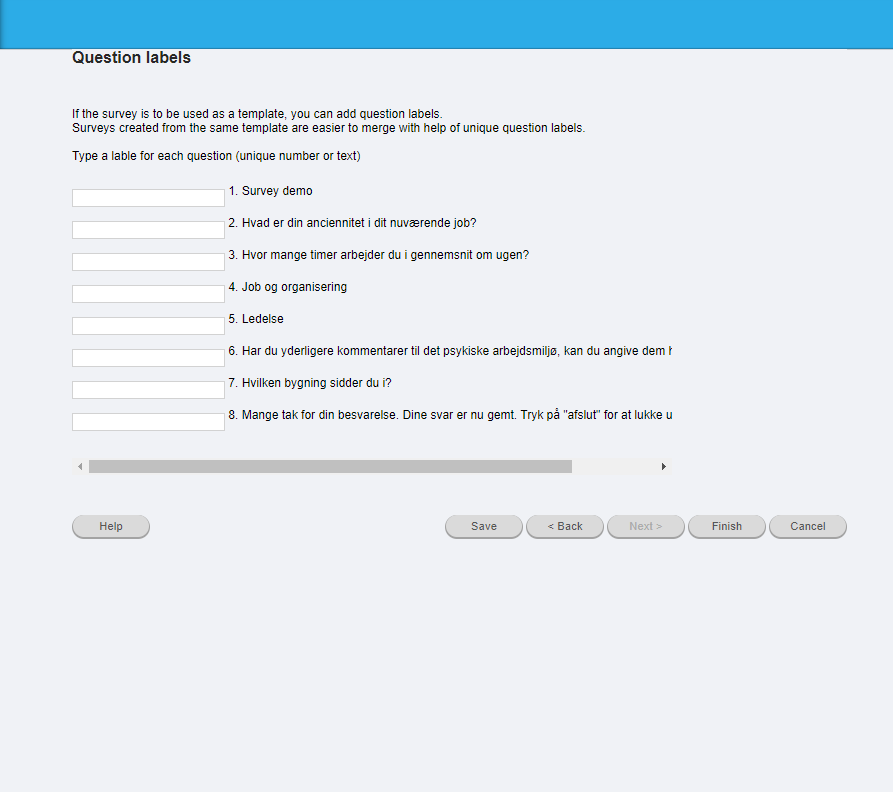
read more about this in the section Advanced settings.
3.2. UPLOAD IMAGES
If your survey will contain images, upload image files to your folder before creating the survey.
This also applies for a survey logo.
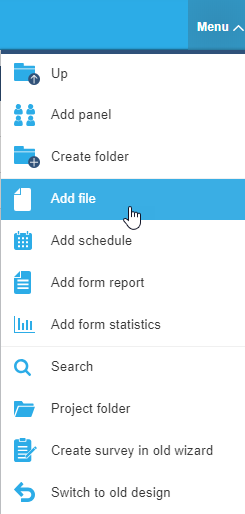
Open your folder and click Menu and select Add file.
In the pop-up box, click browse to locate your file, and Save file in project folder.
3.3. CREATE QUESTIONS
In this guide, we assume that no template have been selected to create the survey.
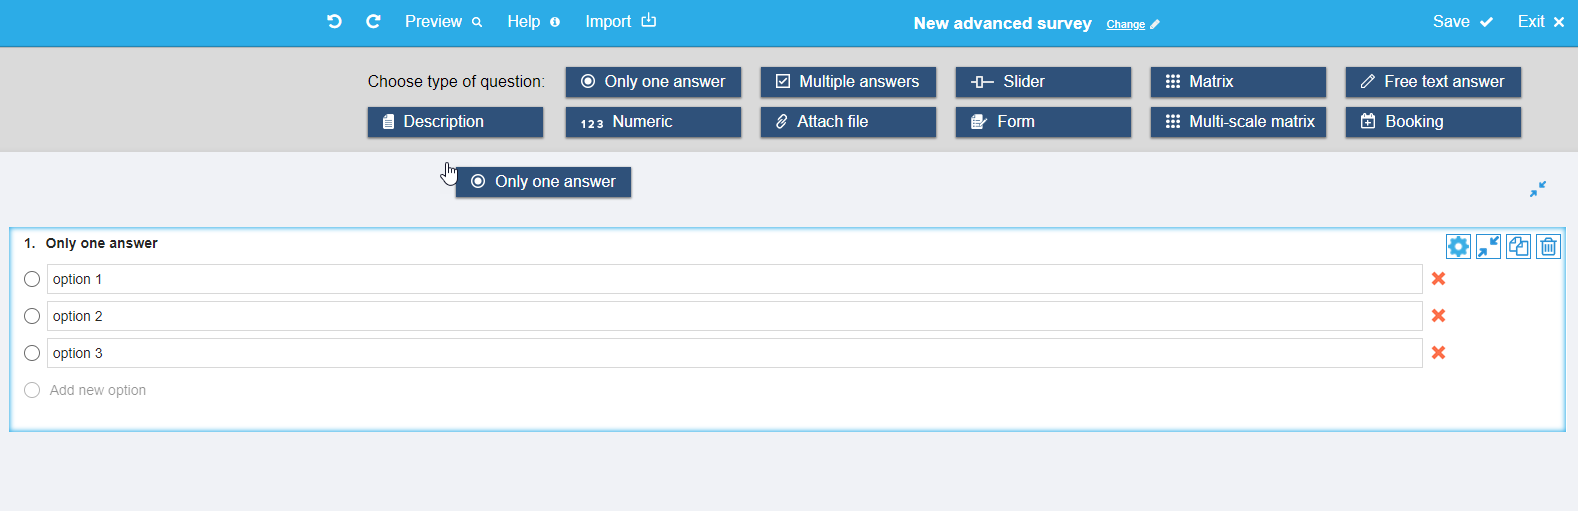
Draw questions to the survey canvas.
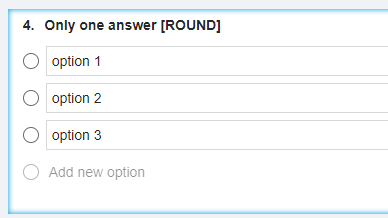
To add a new Answer option click the text Add new option
below existing Answer options.
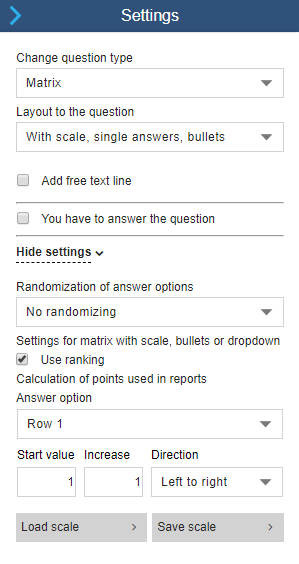
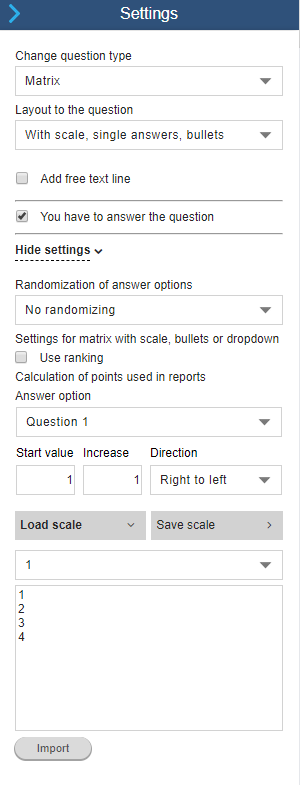
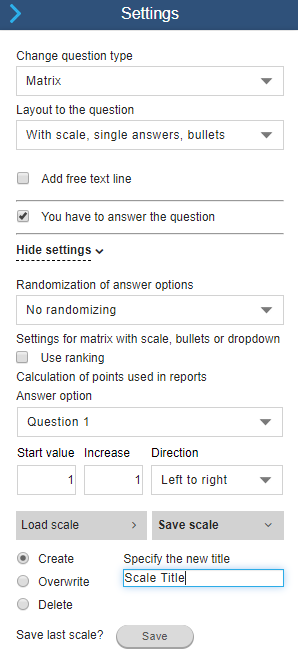
For each question change Settings in the rightside menu.
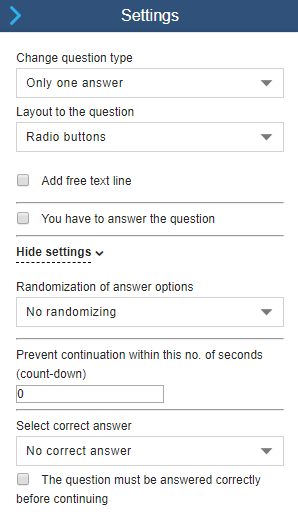
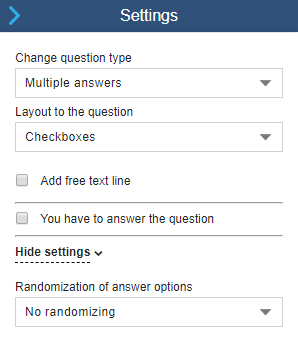
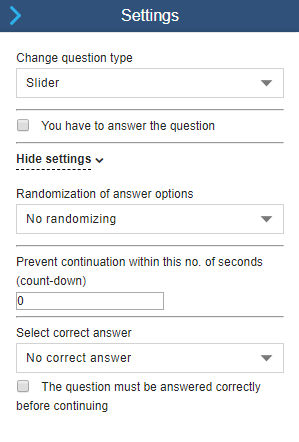
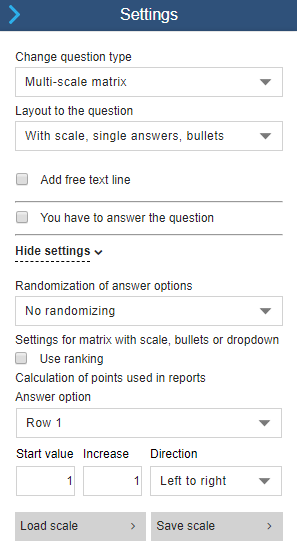
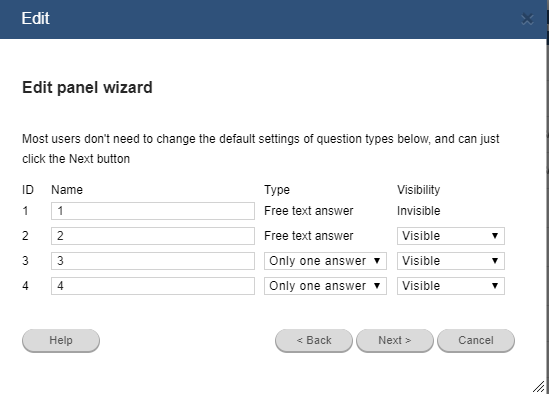
- To change questiontype for an already created question click Settings and then select a new questiontype from the dropdown list Change question type.
- In this way,also change layout to the question type Layout to the question. Choose between Radio buttons,
List or Drop-down.
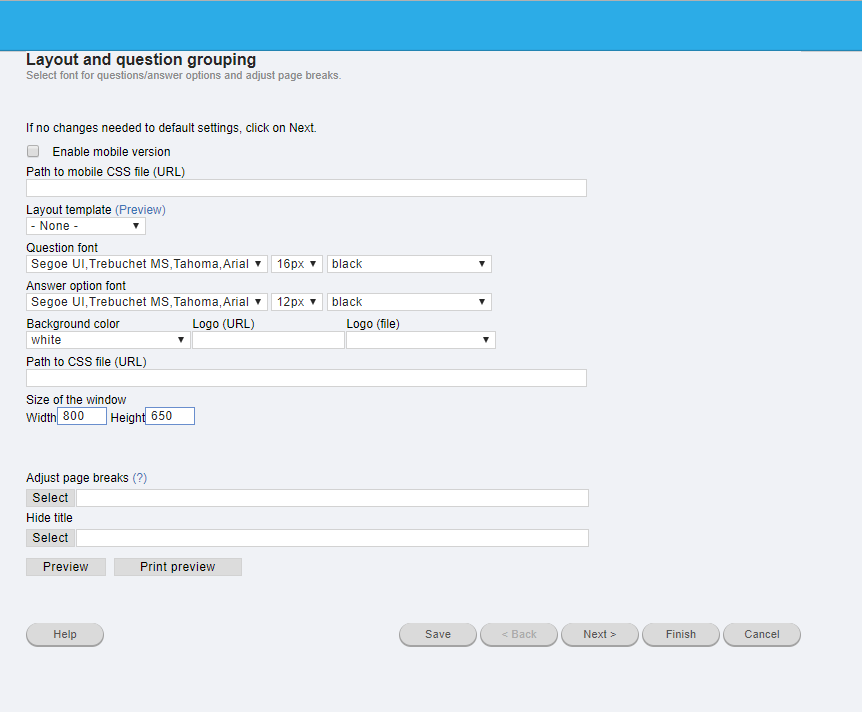
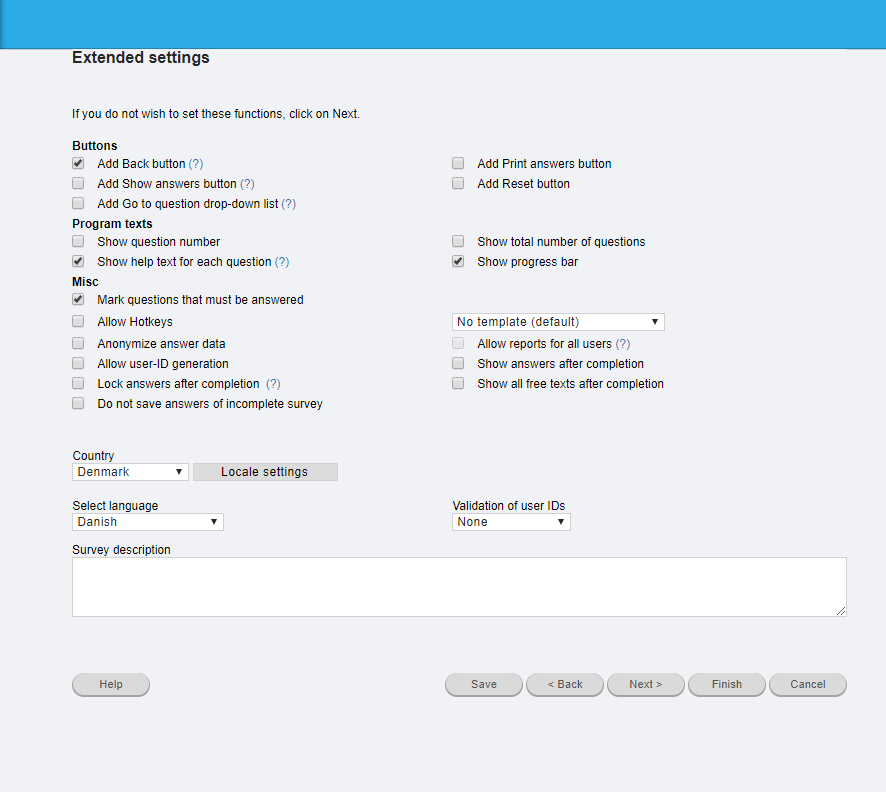
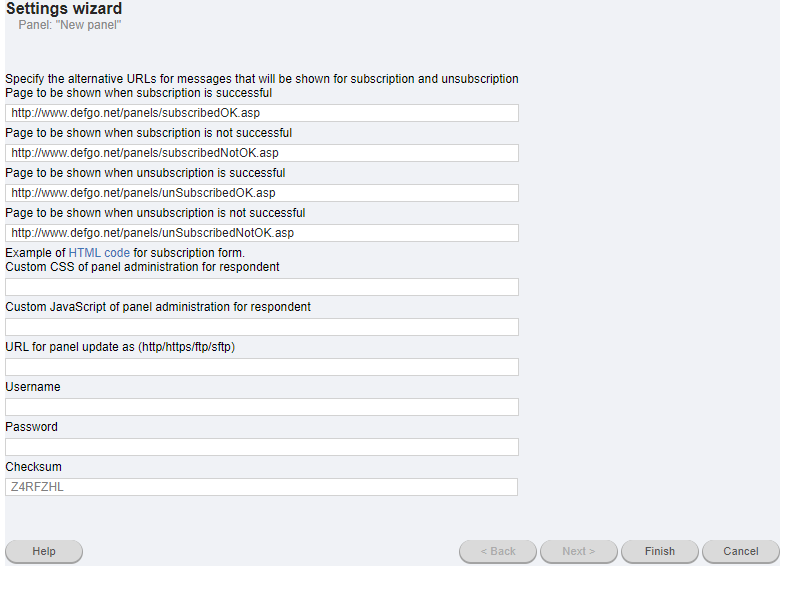
In the settings wizarden you can change survey layout, pagebreak, buttons, insert logo and a lot more.
Click your survey and select Settings.
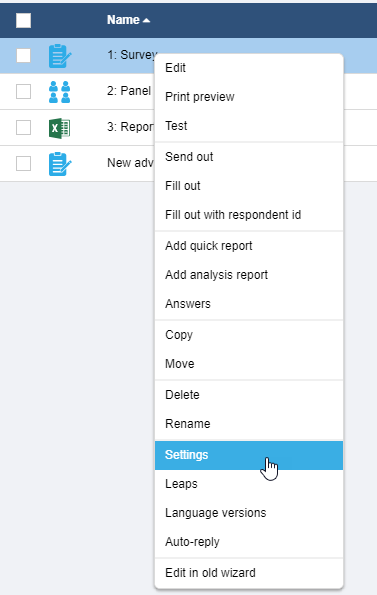
The settings wizard opens:
If the survey contains answers, a warning appears:
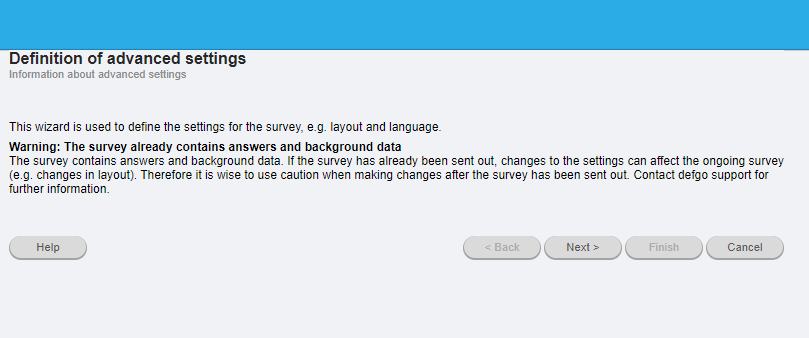
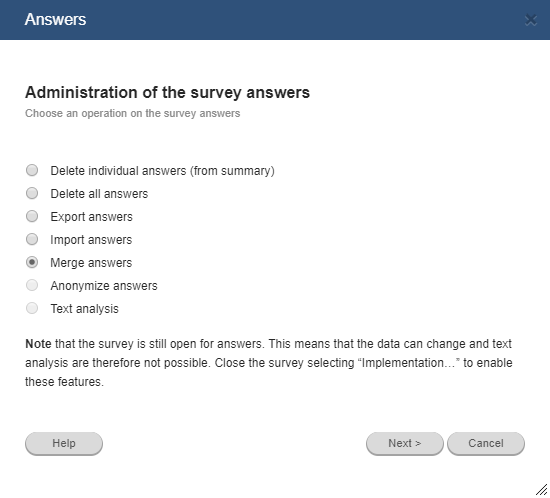
You can delete answers by clicking your survey and selecting Answers -> Delete all answers
NOTE: only do this, if these are answers which can be deleted!
Most settings changes will not cause problems even with survey containing answers.
4.1 CHANGE LOGO
To change a survey logo, first upload the image to defgo from your computer, before entering the Settings wizard.
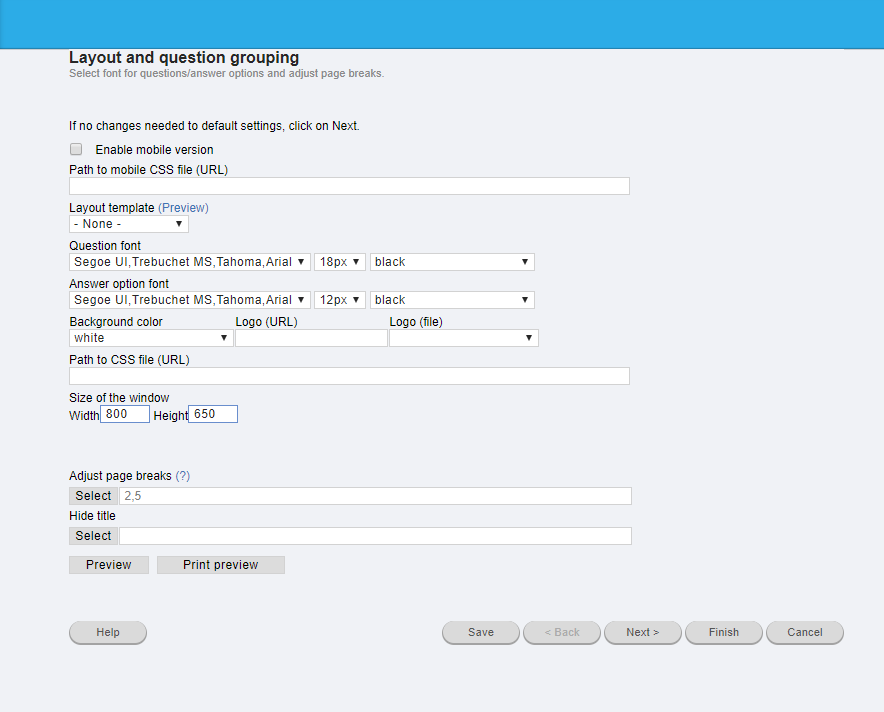
In the Layout and questions grouping wizard, you can choose the image from the Logo (URL) dropdown-list :
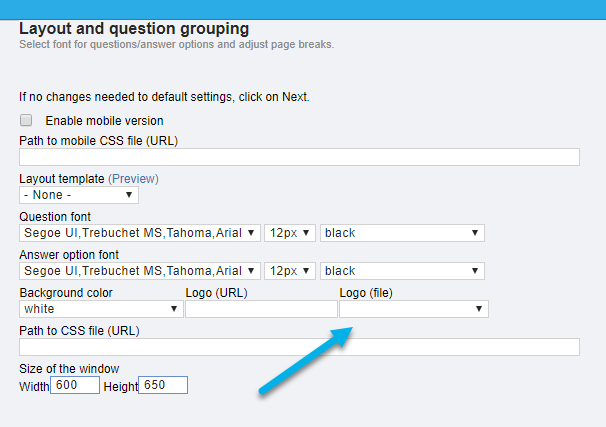
4.2 EDIT THE LAYOUT TEMPLATE:
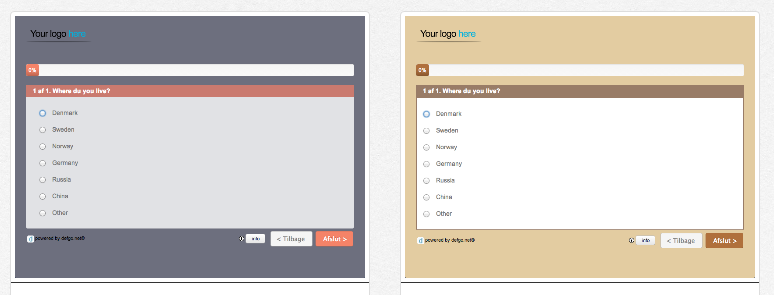
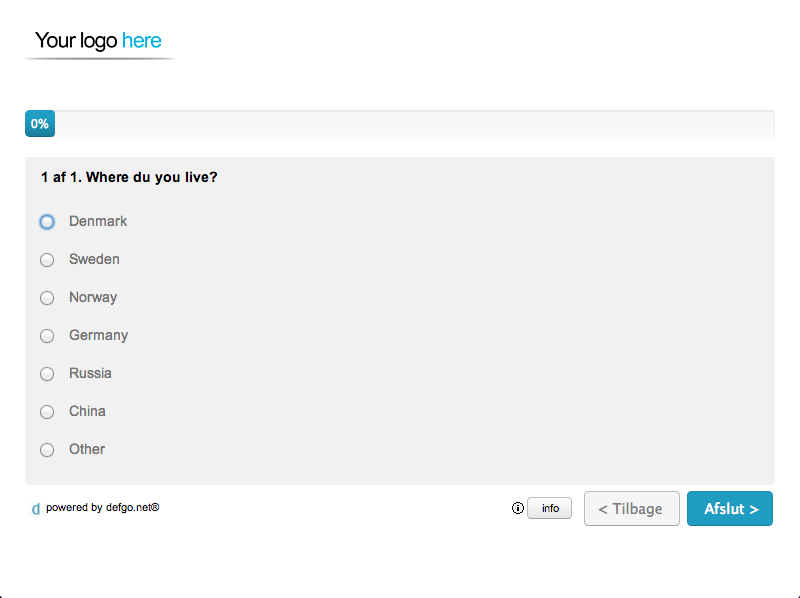
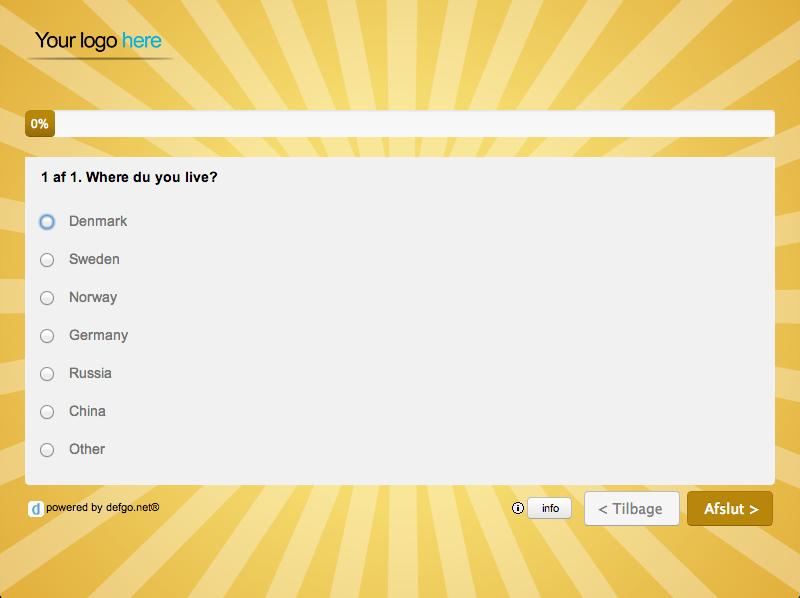
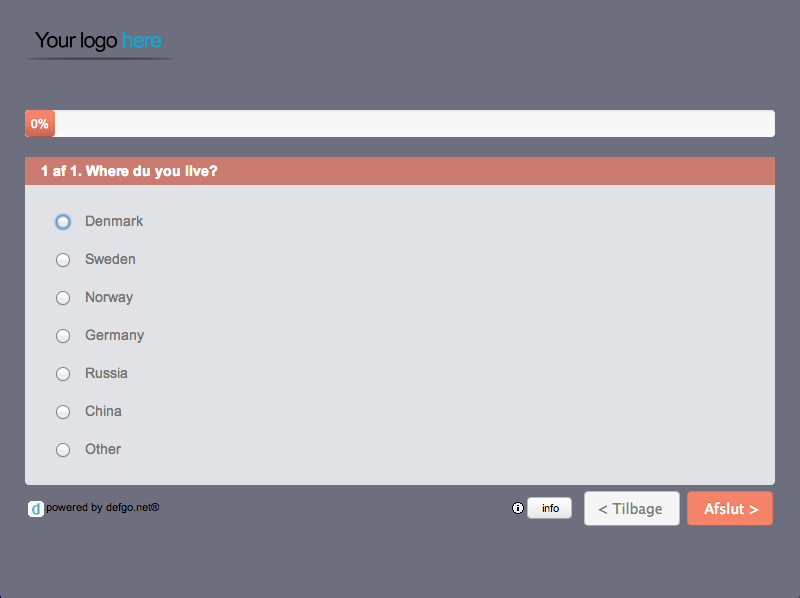
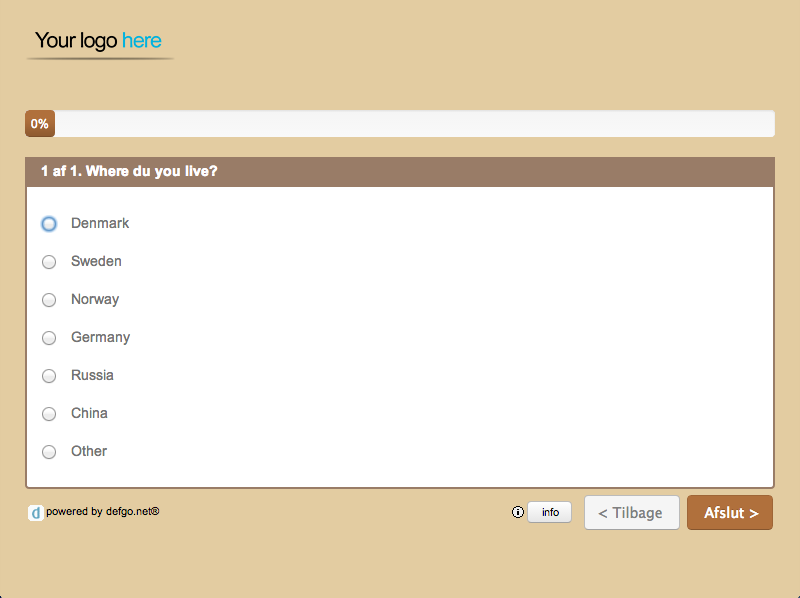
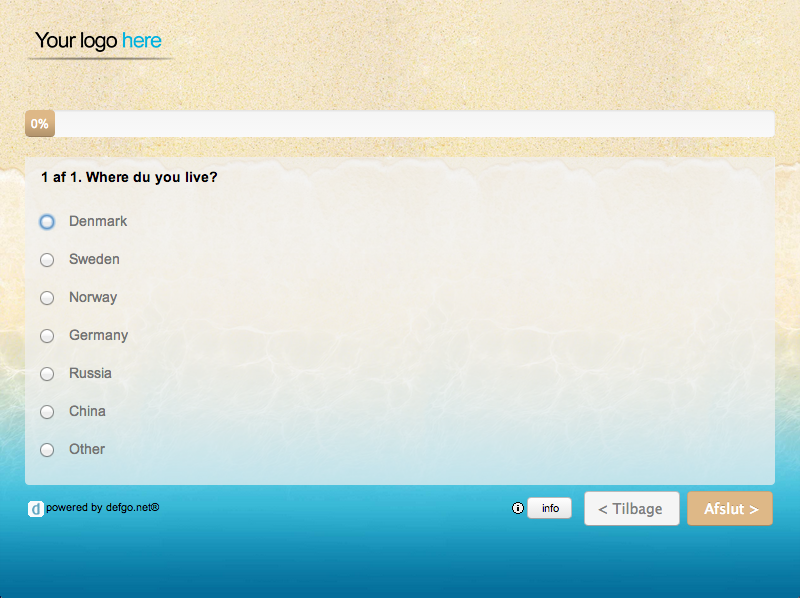
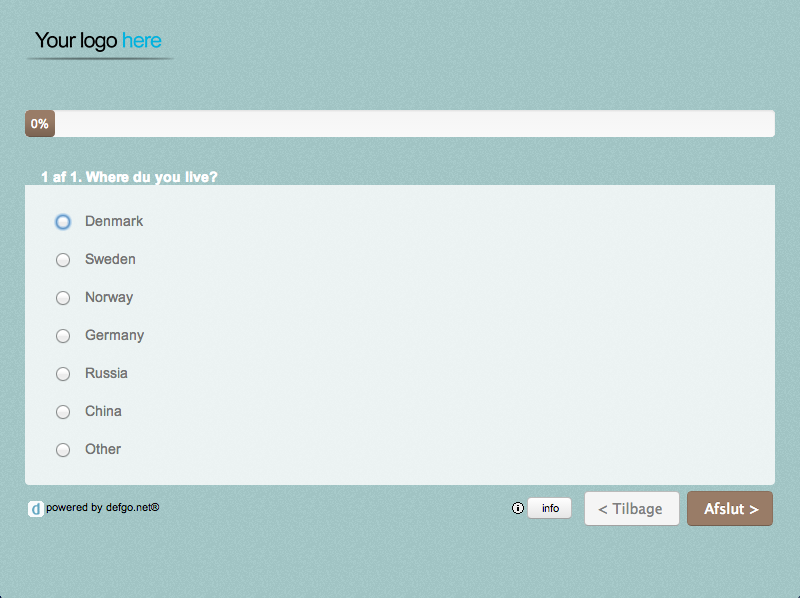
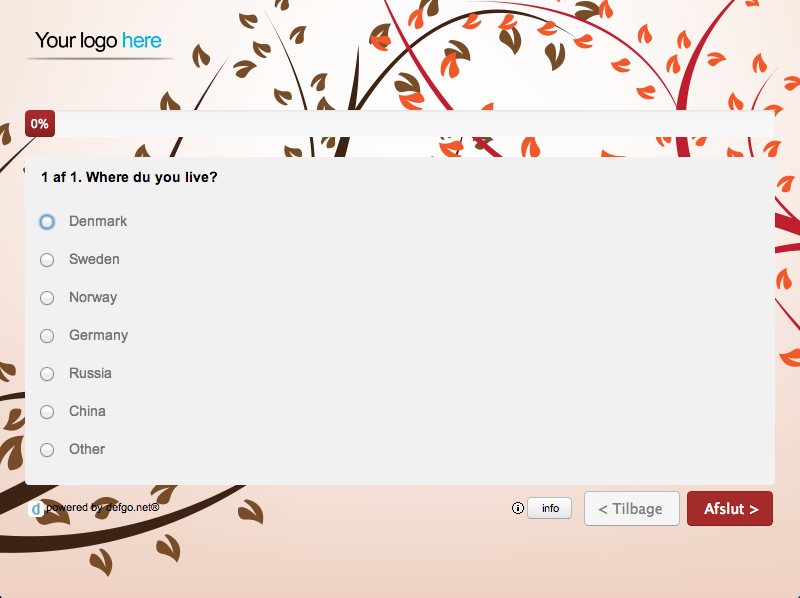
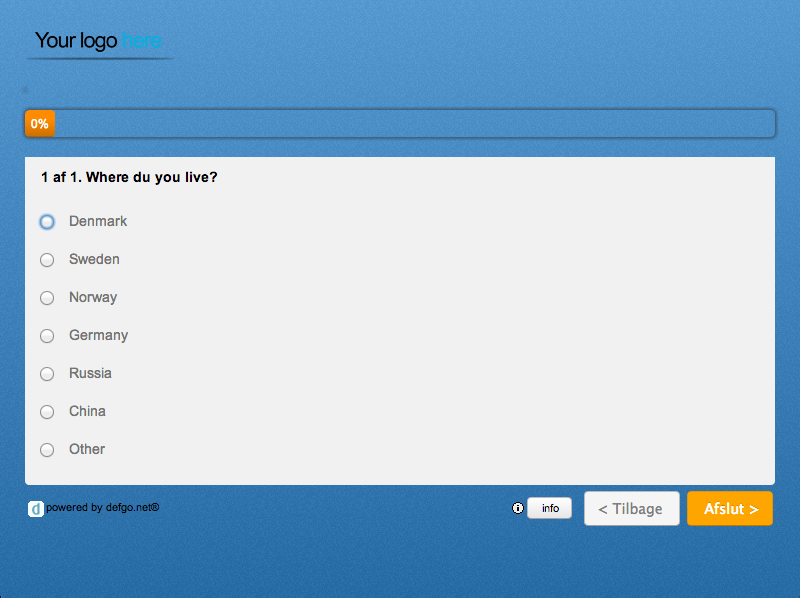
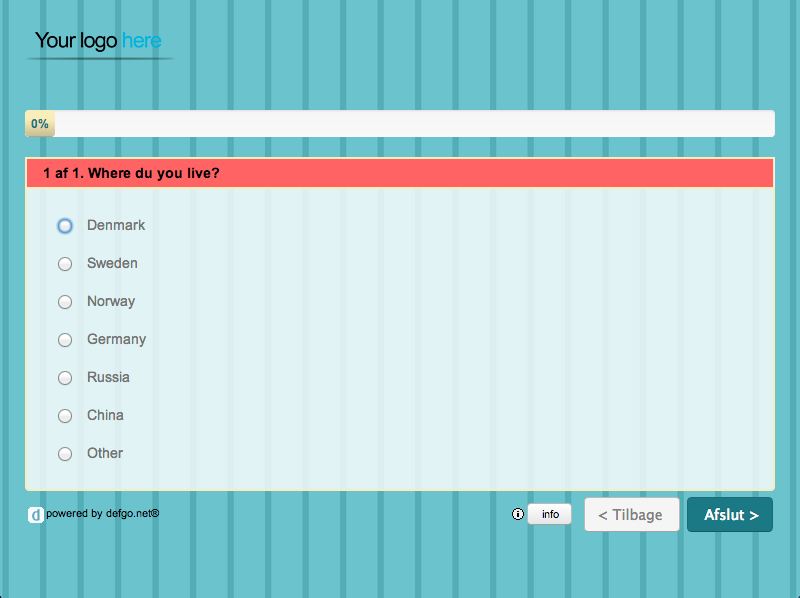
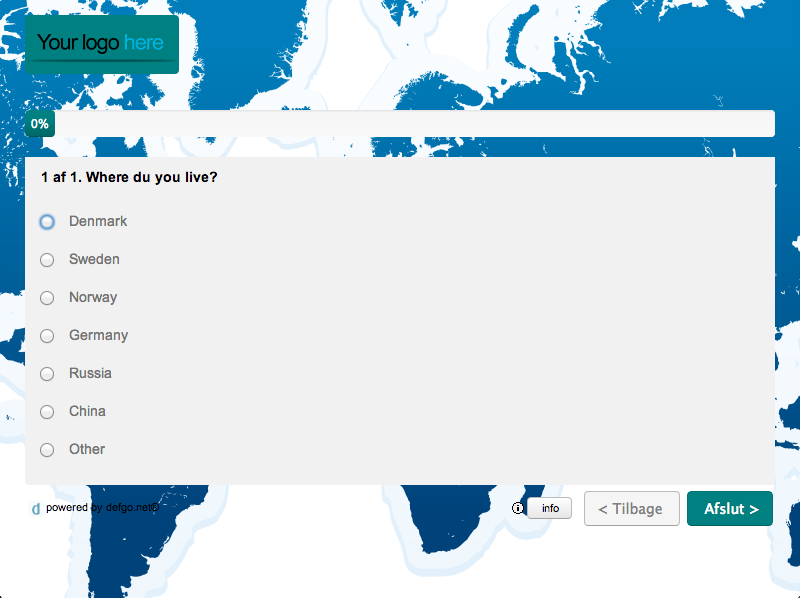
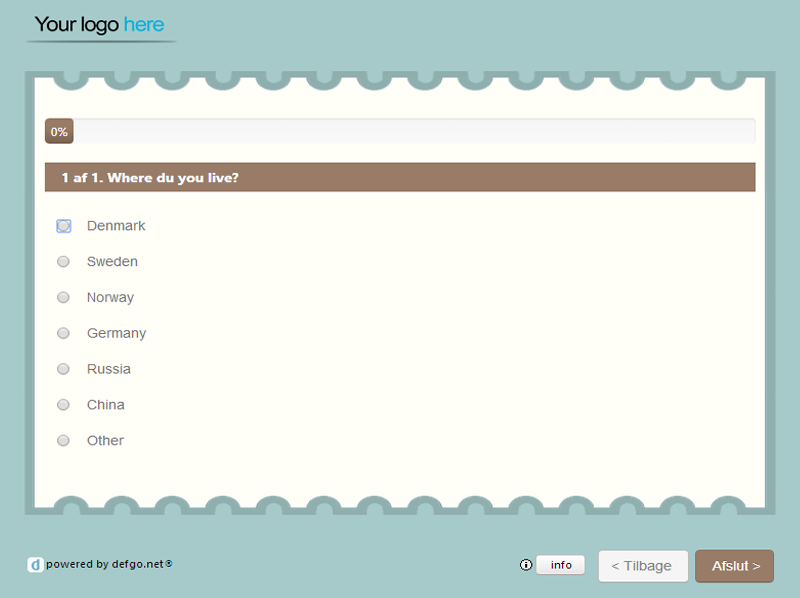
Choose between 12 different templates in CSS format:
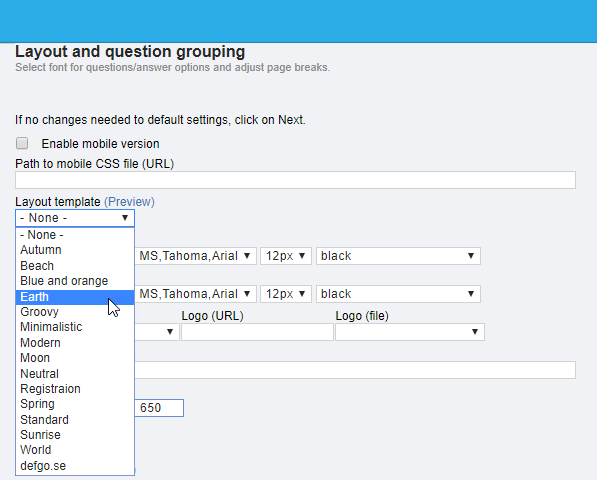
The Layout templates have different colours and shapes of buttons:
4.3 ADJUST PAGEBREAKS
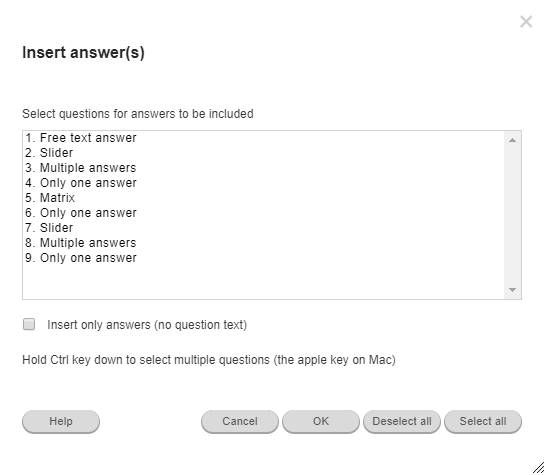
In the Layout and questions grouping wizard, you can adjust page breaks. Click the button Select, and view a list of questions in the survey:
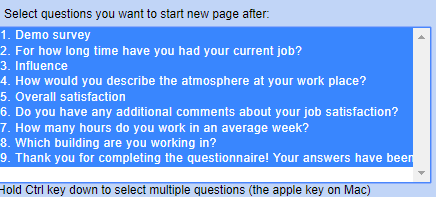
All questions are marked by default, which means that a pagebreak follows each question. Press the Ctrl-key to disable this function from each question.
4.4 ENABLE SHOW QUESTION NUMBER
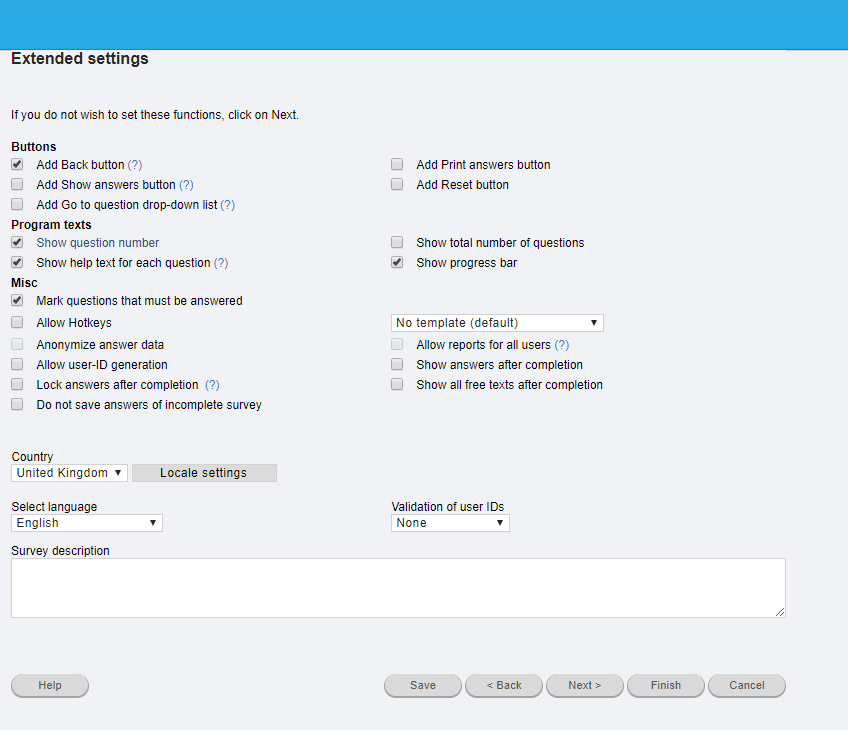
In the Extended settings wizard, check the field Show question number.
4.5 DISABLE HELPING TEXTS
The help texts are small explaining texts listed under question texts in the survey:

The help texts can be enabled or disabled for the whole survey. Check or uncheck the field Show help texts for each question.
4.6 ADD SHOW ANSWERS BUTTON
Each respondent can view and print answers if you check the field Add show answers button.
4.7 ANONYMISATION
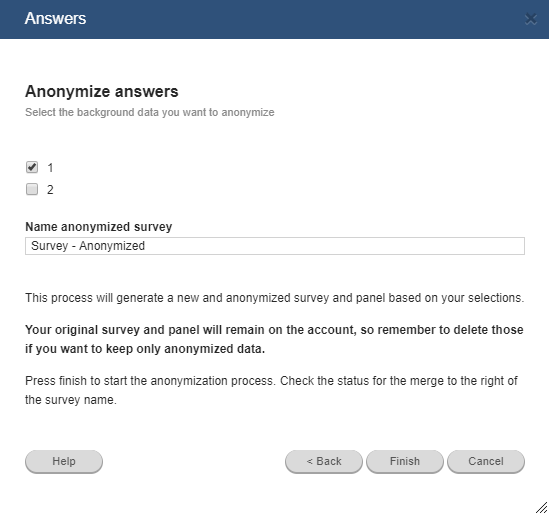
Respondents can be anonymized, their personal data not visible to anyone if you send out with panel and respondent-id.
Check the field Anonymize answerdata.
4.8 CREATE SURVEY TEMPLATE
Create a surveytemplate to re-use the next time you add a survey.
Select Survey template from the dropdown list. The template is saved and available for the account you've signed in to.
Not for any other users.
4.9 LEAPS
Click your survey in the project folder and select Leaps.
Then select the question to be leaped from:
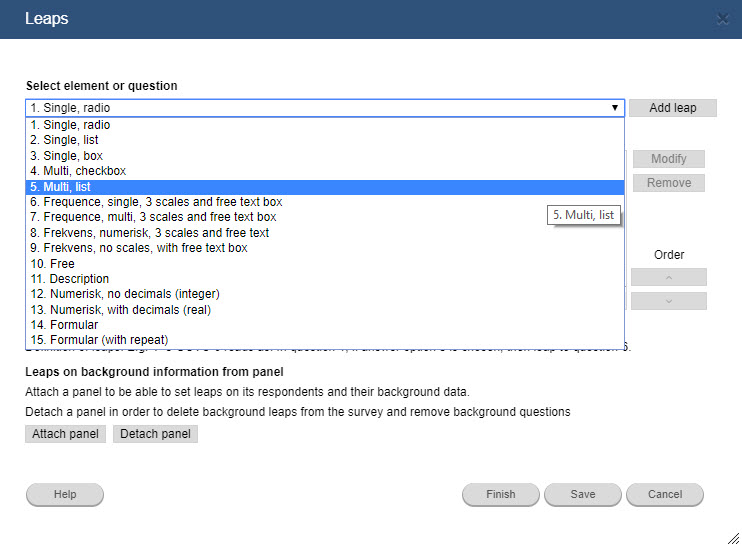
click Add leap to create a new leap.
Note: If you can't click the button Add leap (the button is not active),
it signals you have answers in your survey.
Delete answers and repeat the procedure (don't delete valuable answers from respondents!).
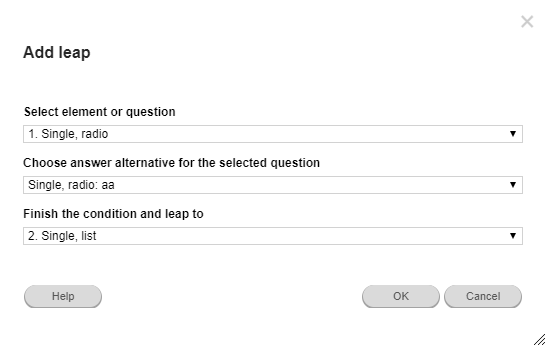
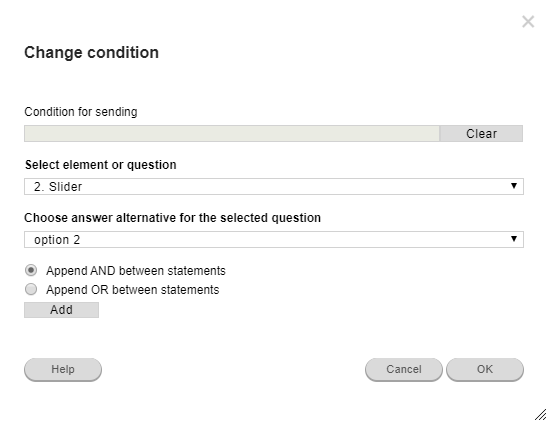
In the dialog box set the condition to activate the leap, and below the leap destination.
5.1 TEST
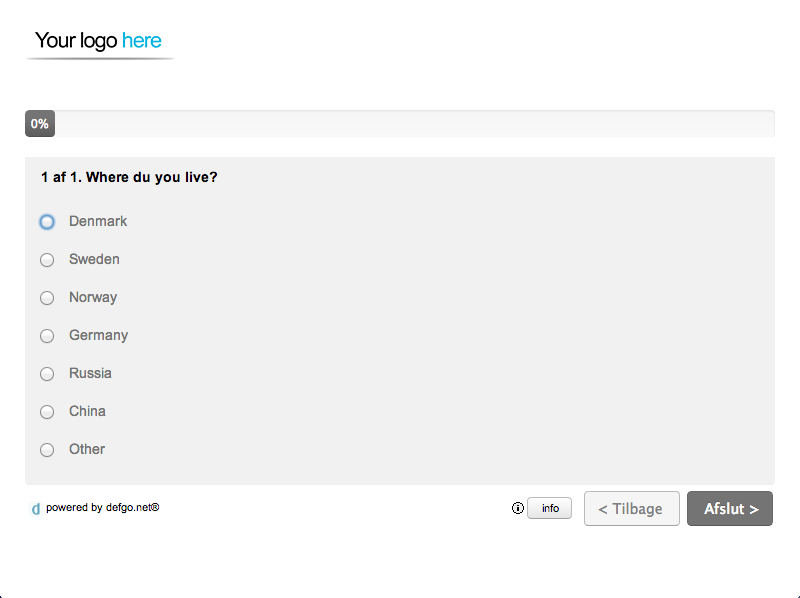
After you've created your questions, you can test the survey as a respondent.
Go to the overview, click on your survey, and select Test.
Then you view the questions as a respondent, but your answers will not be saved.
Tests are important, especially questions including Leaps, to ensure a correct leapsetting.
5.2 E-MAIL WITHOUT RESPONDENT-ID
Send out via link in general e-mail, is useful for larger surveys where responden IDs doesn't come necessary.
Maybe you have a list of e-mail addresses from your workplace or organisation.
Click your survey and select Send out.
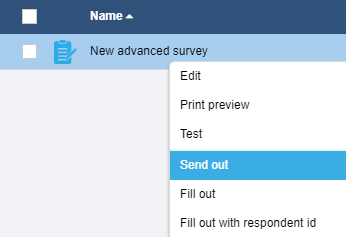
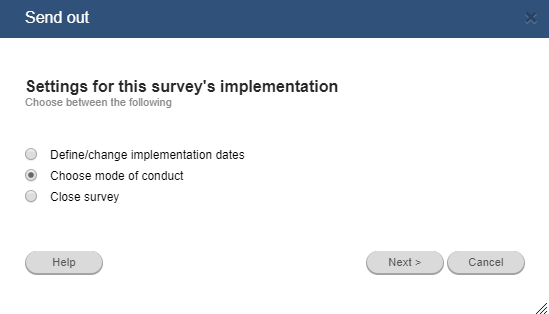
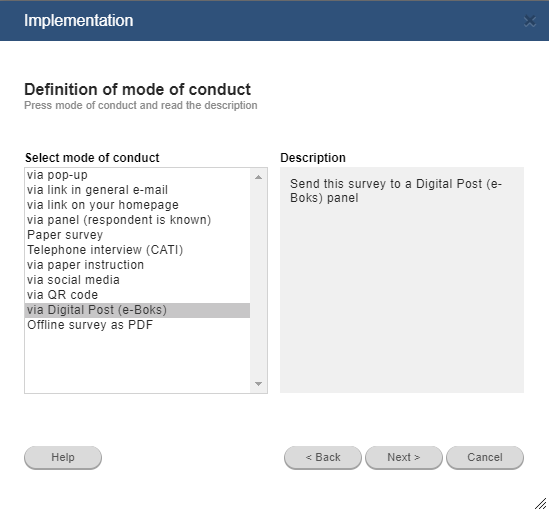
Click Choose mode of conduct.
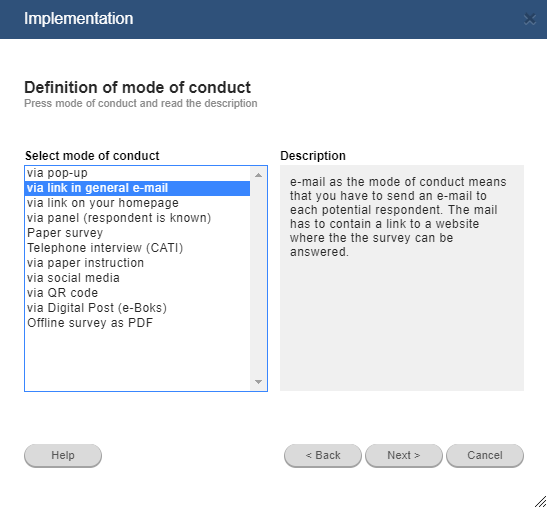
Select via link in general e-mail and click Next.
You may set survey start- and date, and then click Next.
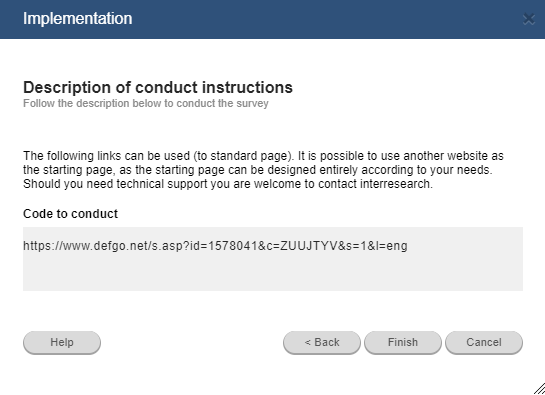
In the next window you can copy your link and send out the survey to your respondents.
5.3 CREATE AN E-MAIL PANEL WITH E-MAILS AND NAMES
If you need to implement a survey to view respondent information, or supplement answers to respondent data,
you must send out via panel.
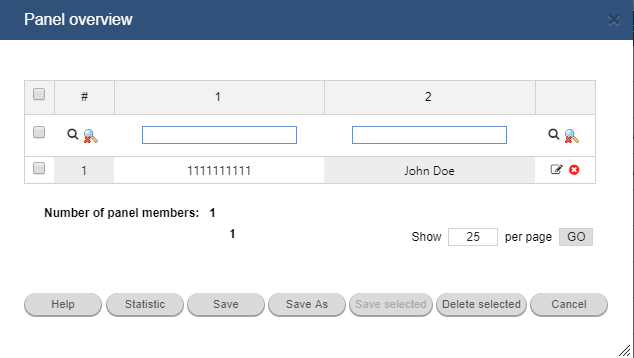
A panel is build with respondent information –
e-mail, name and other relevant information of your respondents.
The panel will receive e-mail invitations to participate in your survey via defgo, and not your own e-mail
client.
Create the panel:
-
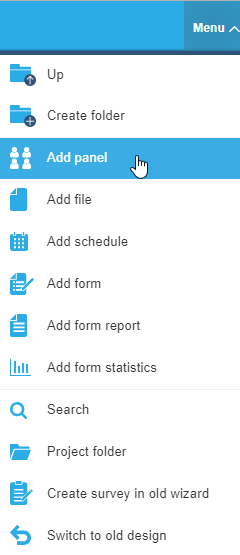
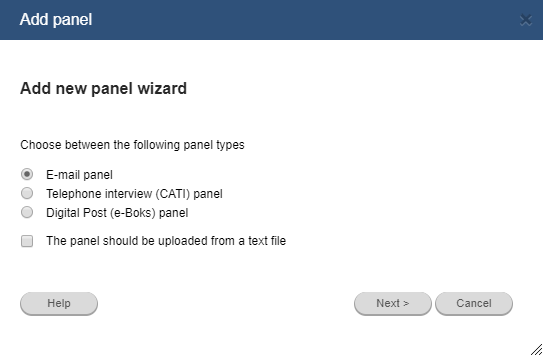
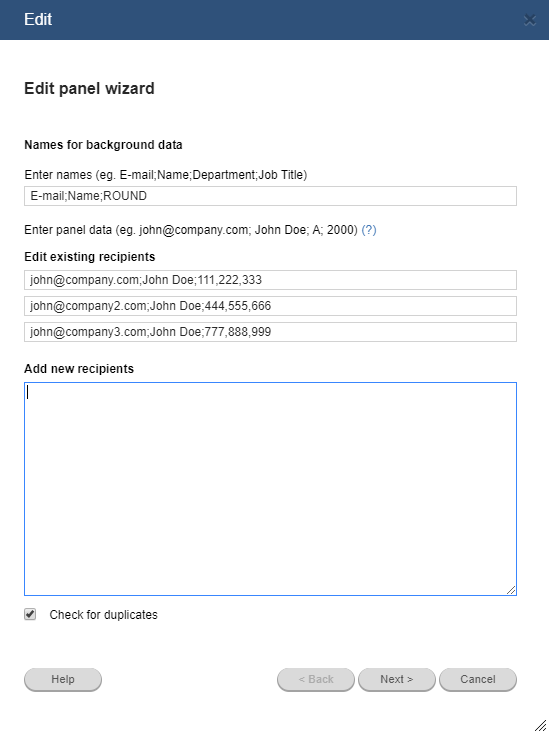
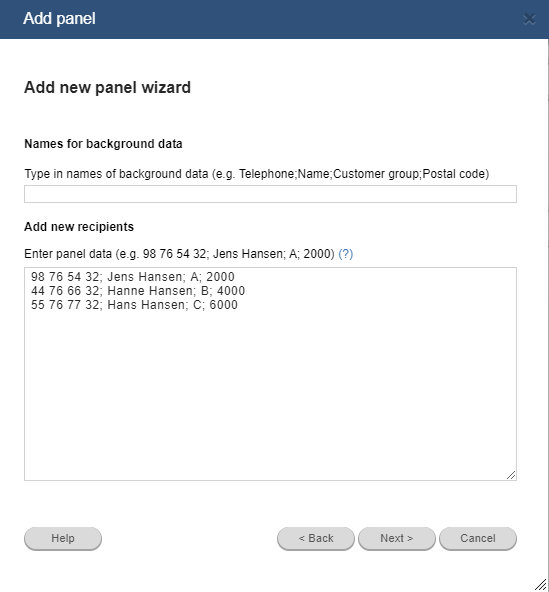
Go to the Overview page and click Menu and select Add panel.
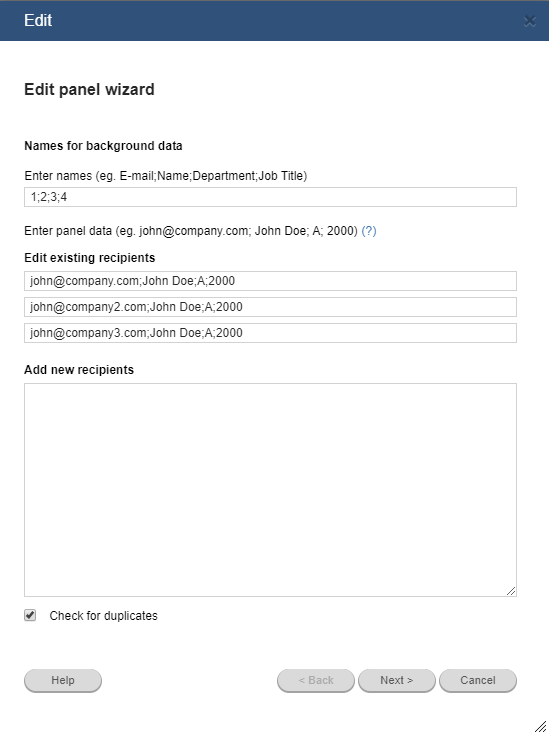
The wizard opens:
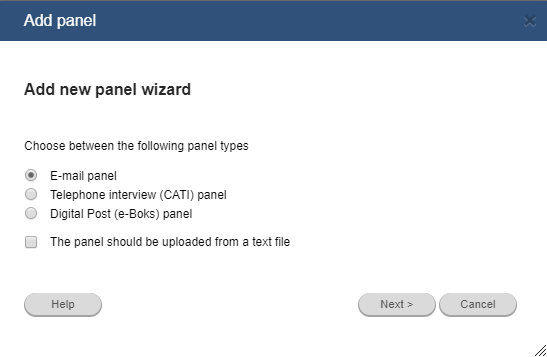
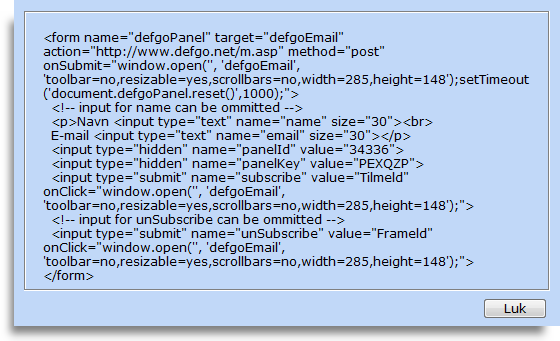
- Notice that you can upload a textfile by checking the field
The panel should be uploaded from a text file.
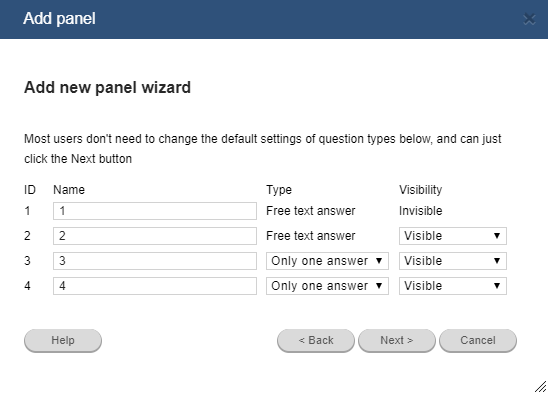
Click Next.
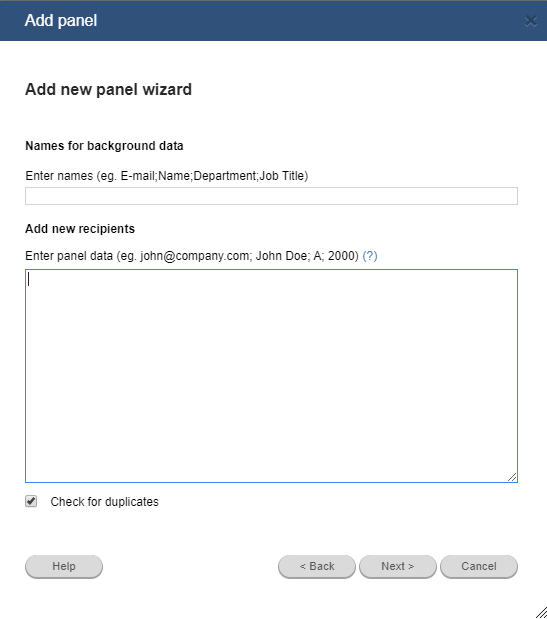
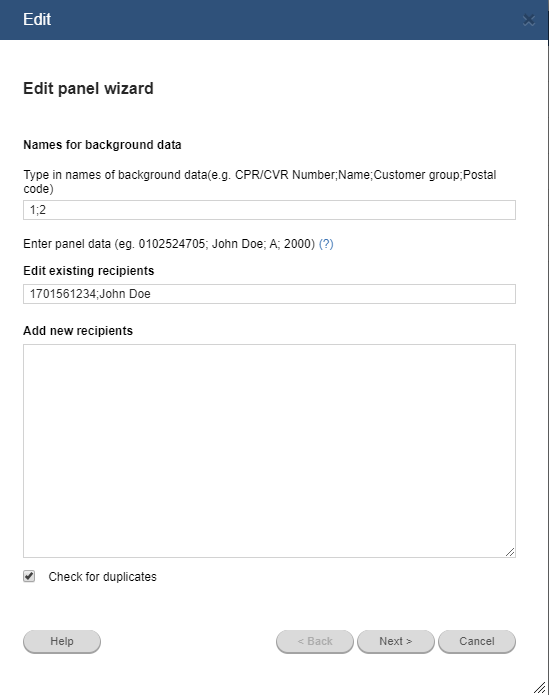
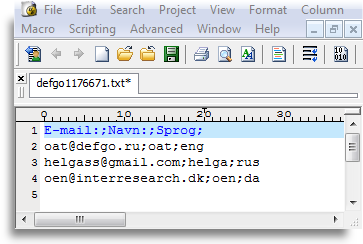
- Type in e-mail-addresses, names, separated by semicolon, and a line for each respondent.
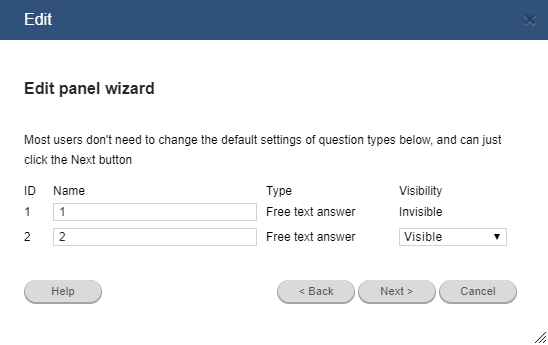
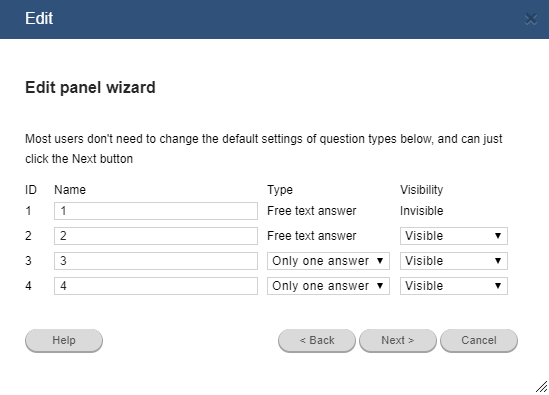
- Click Next.
- Name the panel and click Finish.
NOTE: Paneldata can by copy/pasted from Excel or a text file.
5.4 IMPLEMENTATION FOR E-MAIL-PANEL
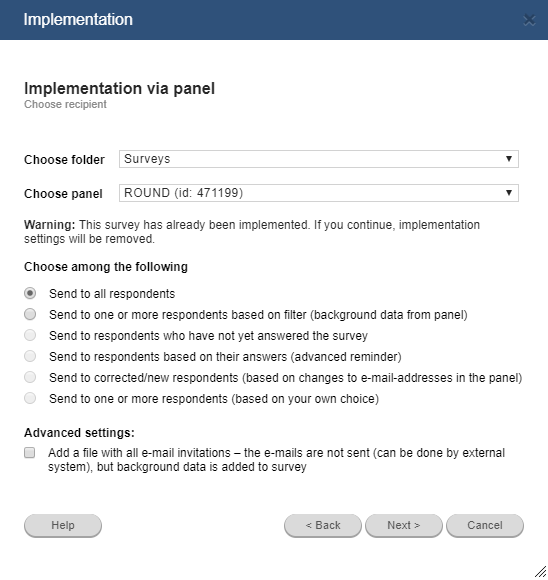
Send out your survey to a panel:
- Click your survey.
- Select Send out and click Next.
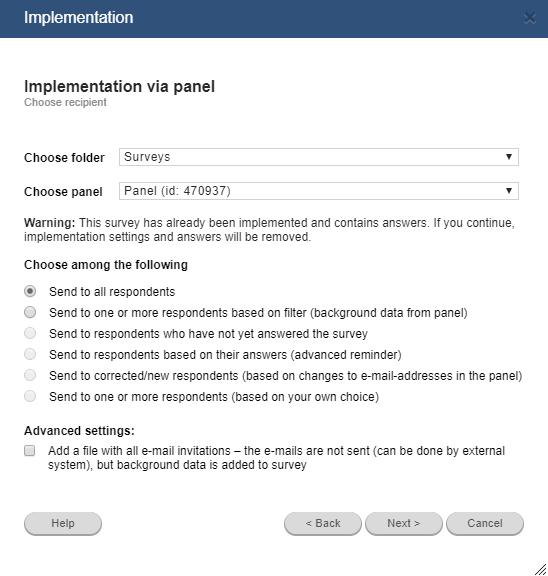
- Select Via panel and click Next.
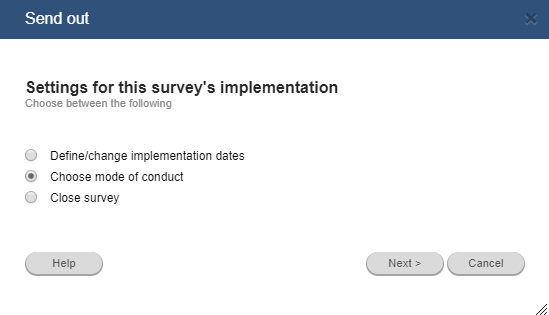
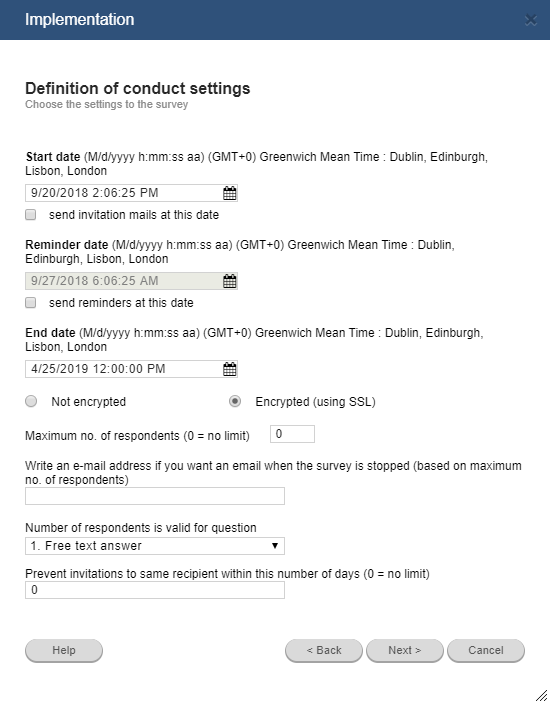
- You may set survey start- and enddate and click Next.
- Choose the correct panel (if you have multiple panels) and click Next.
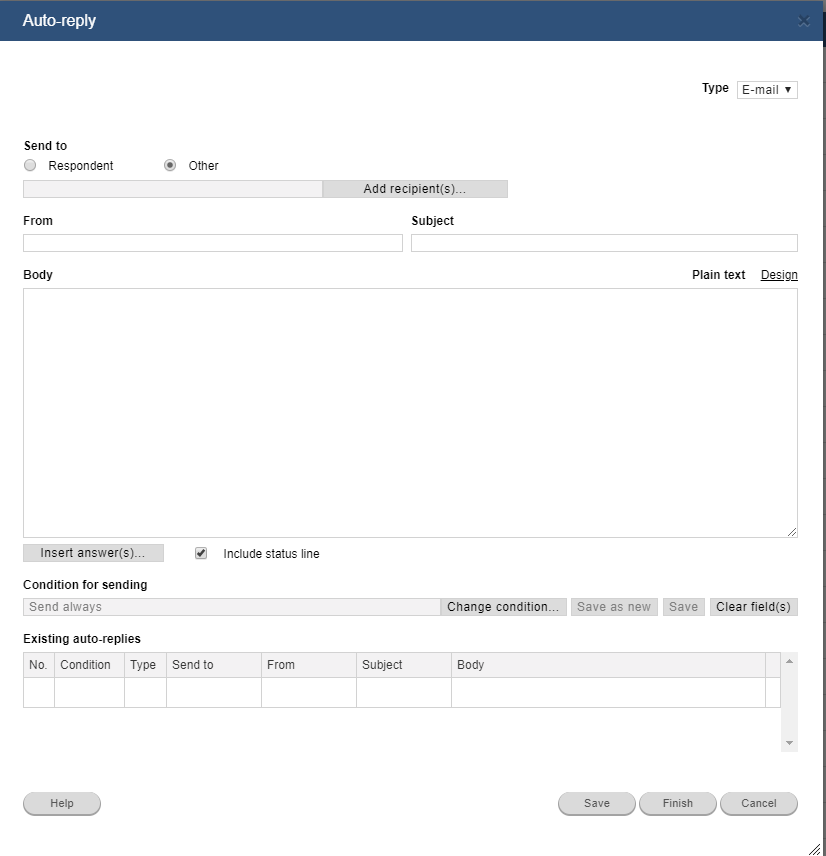
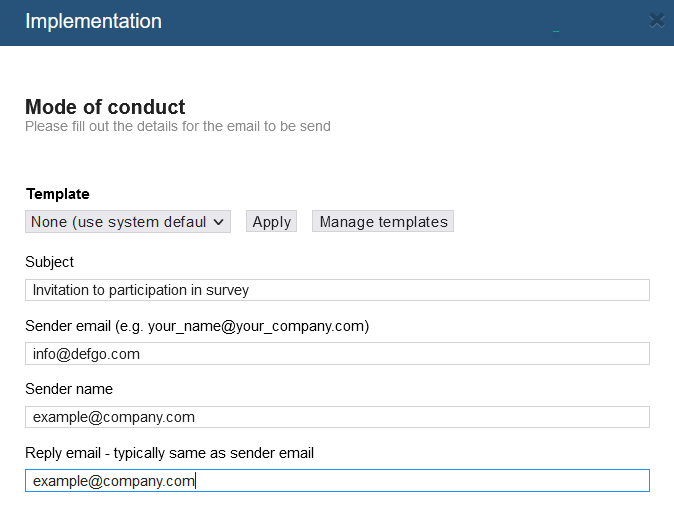
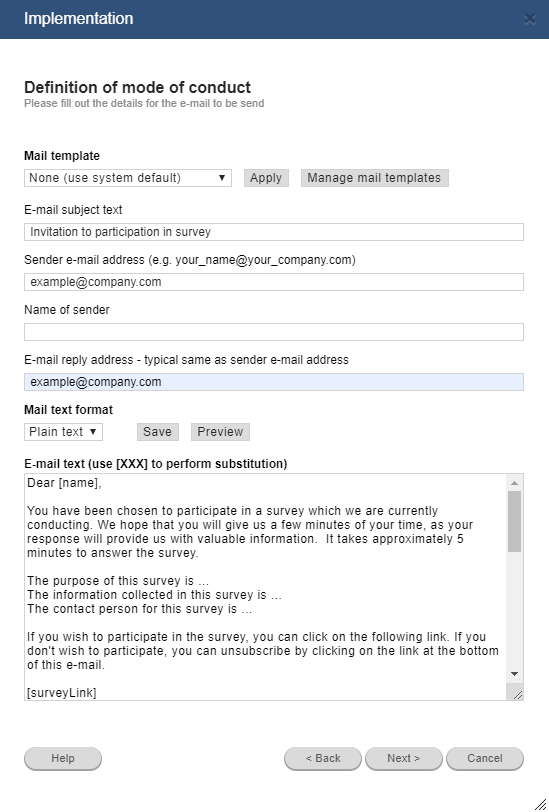
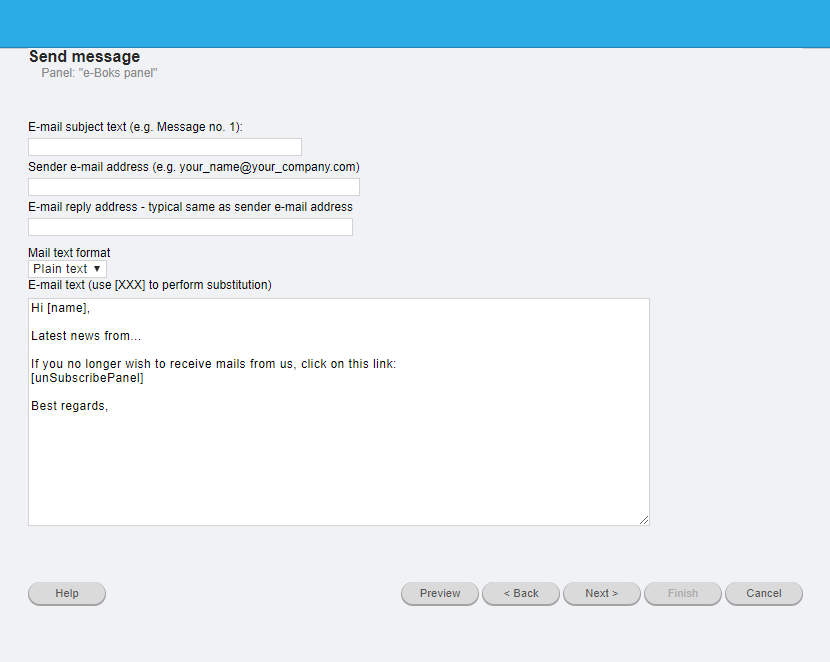
- Edit the standard-e-mail (Note! do not remove the coded data in the squares).
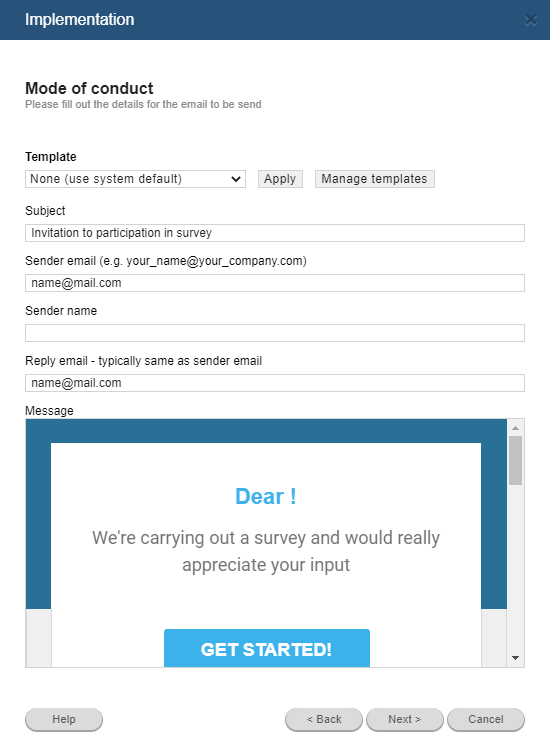
You can choose from Plain textt and Design.
Enable Design to create a layout for the e-mail-text, insert images etc.
- Click Next and Finish.
6.1 OVERVIEW OF THE SURVEY PROGRESS
ANALYSIS REPORT
To follow the answer process closely, add an Analysis report,
to gather answer information for different questions.
This report can be updated subsequently to keep you updated with information about your survey.
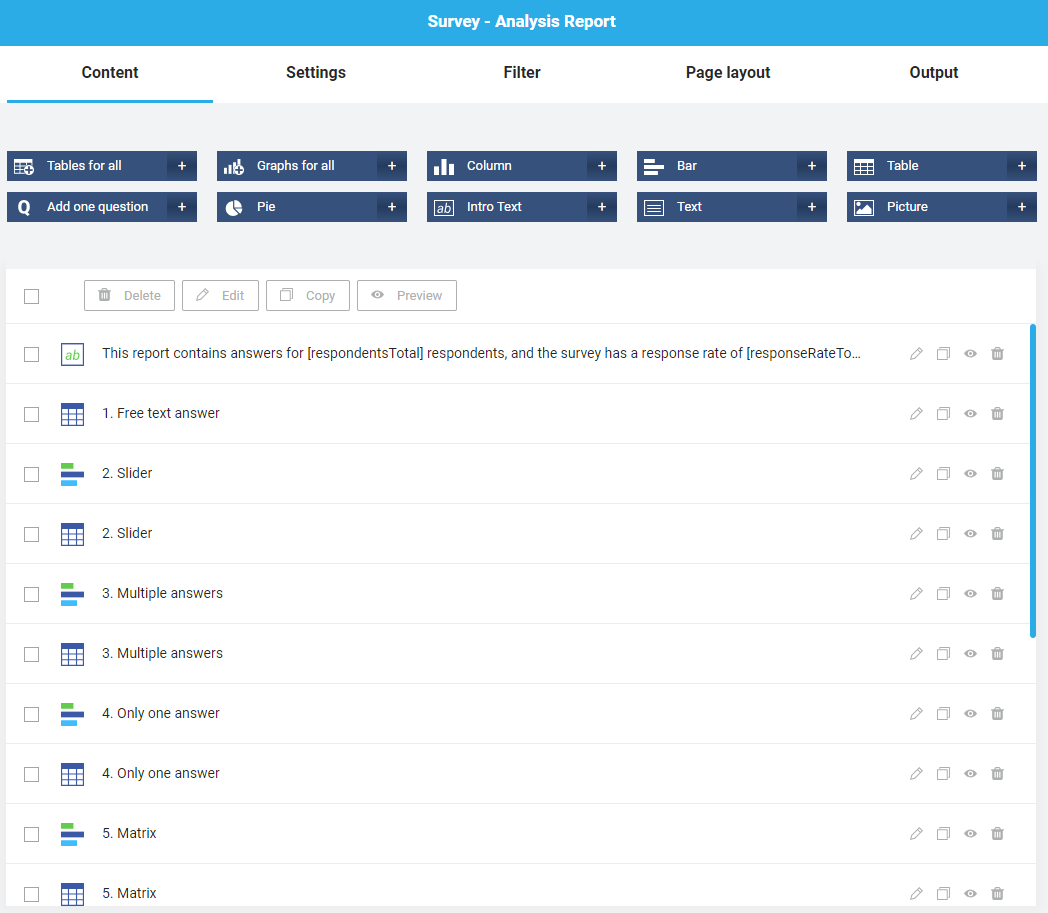
Click your survey from your project folder and select Add analysis report.
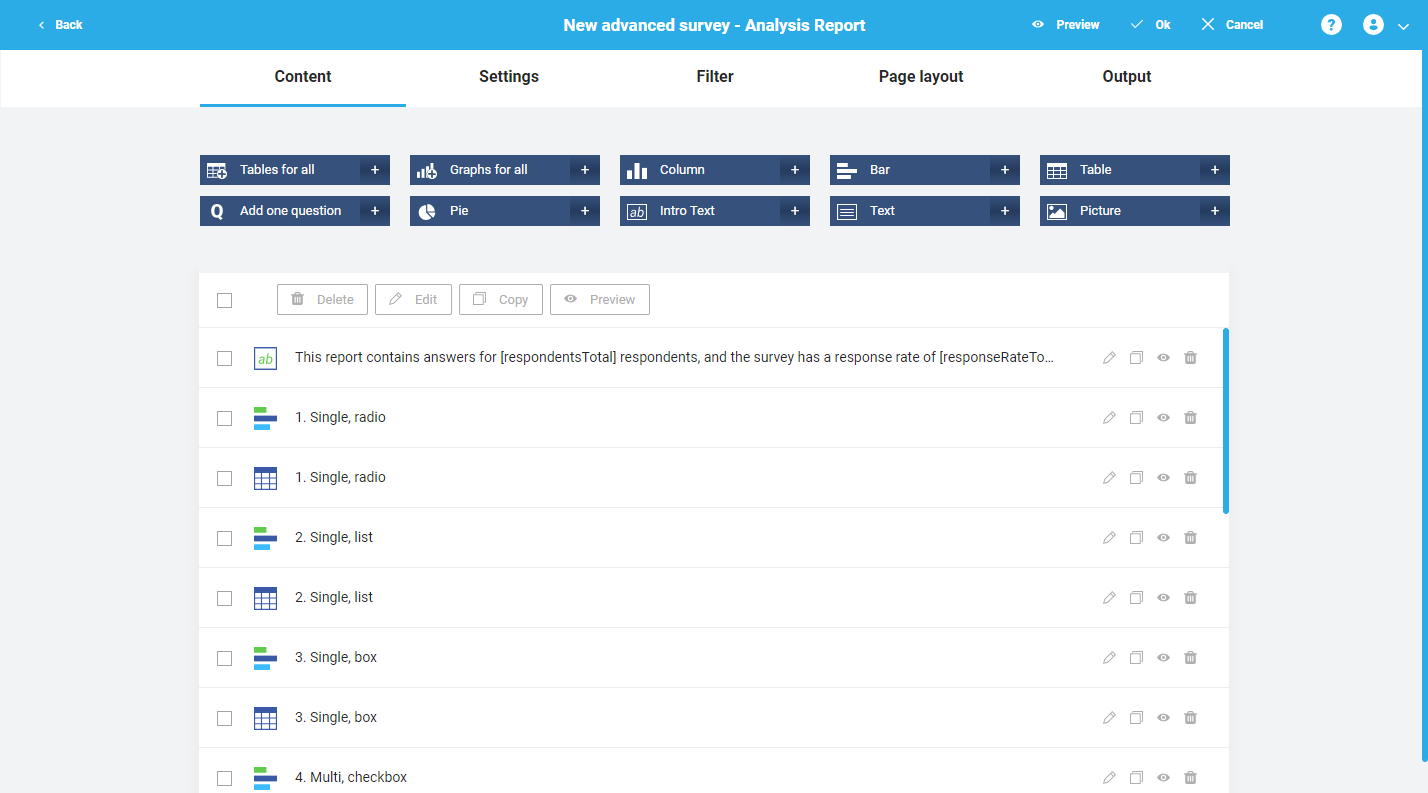
In the defaut tab , Content, decide which questions to be included in the report.
Which elements to be presented (e.g. table or graph) and the order or of elements.
At Settings control settings for calculation, matrix graph, text display and report language.
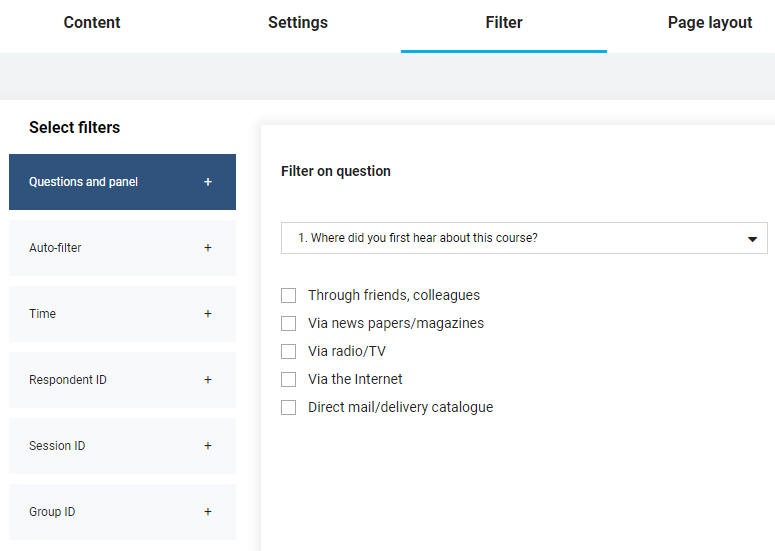
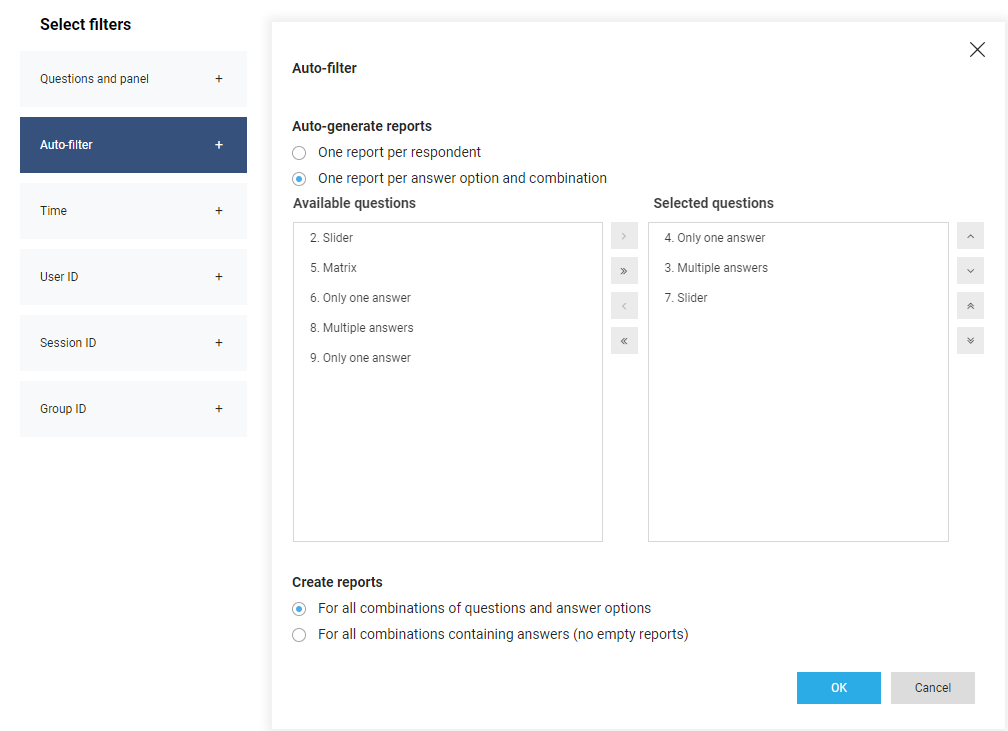
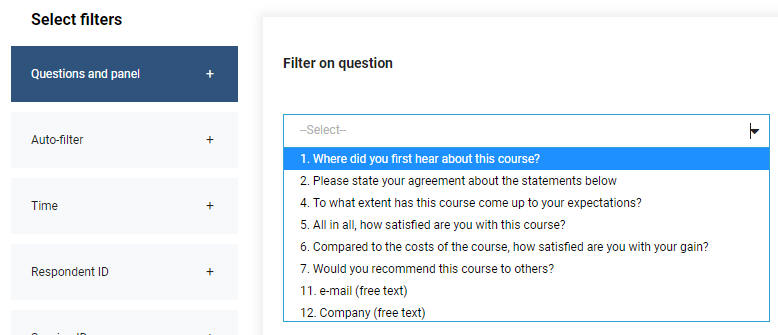
At the Filter tab, you can filter answers from a specific set of criterias.
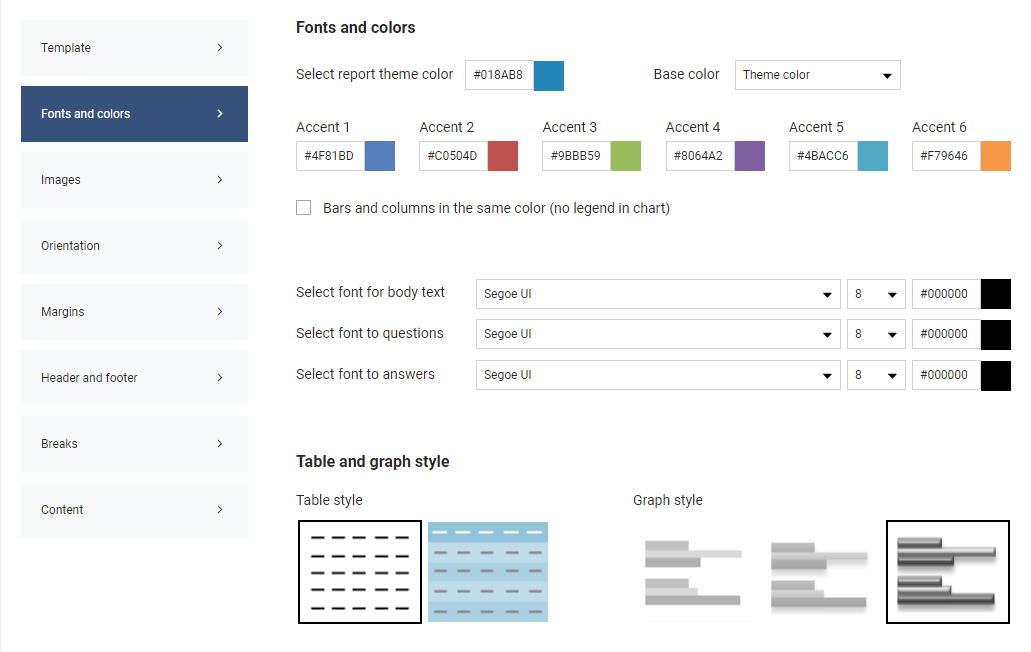
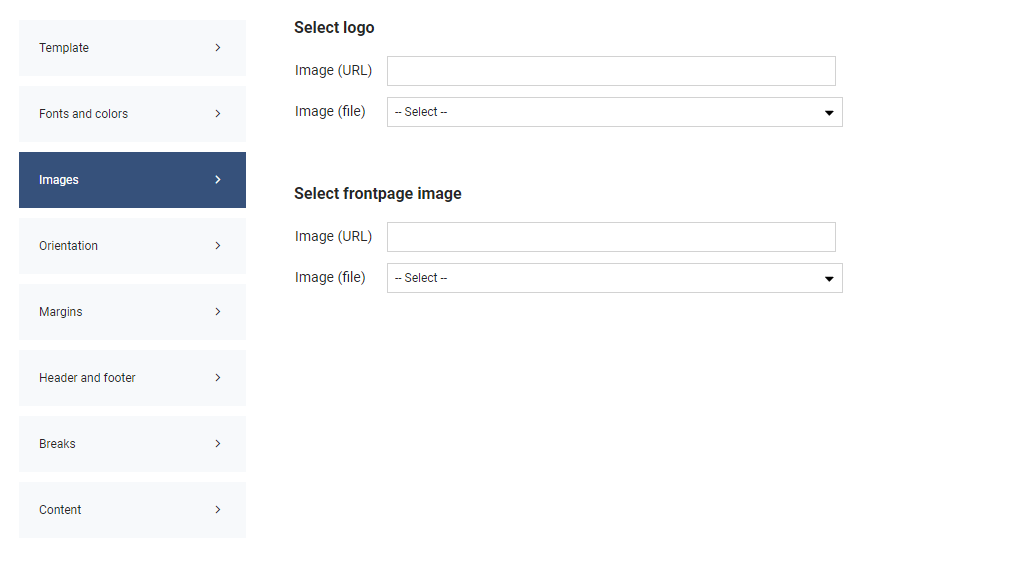
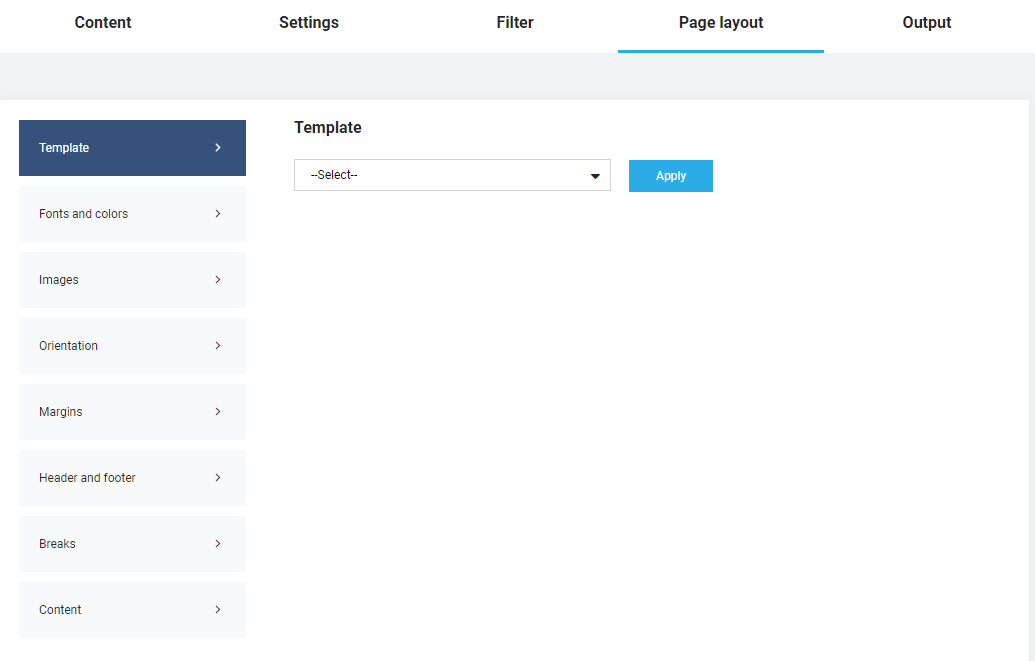
At the Page layout tab, design the layout of the report, inser images/logos etc..
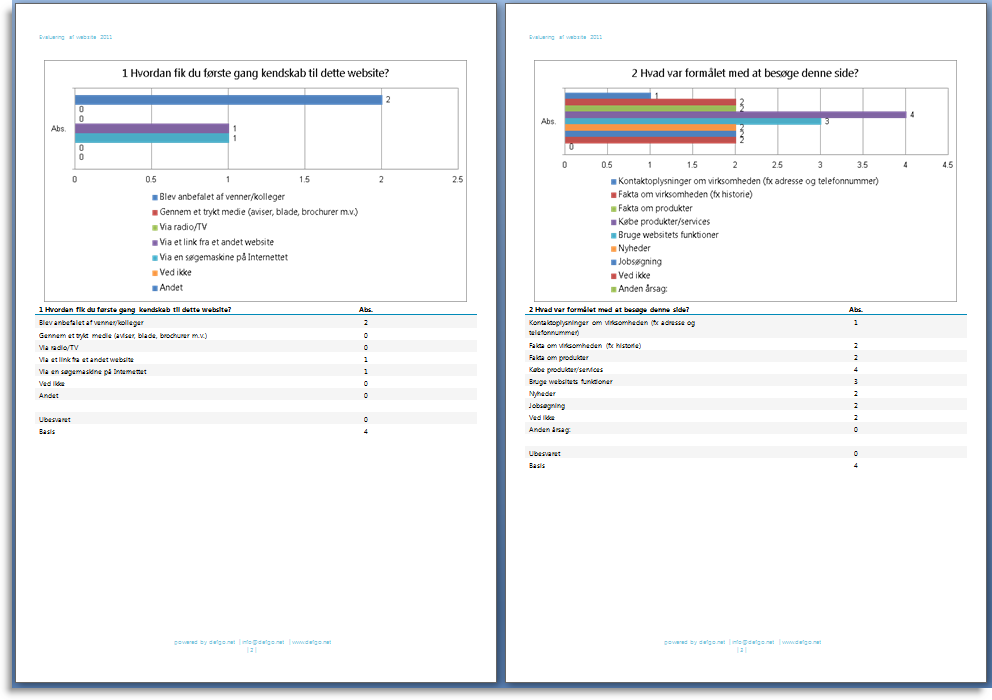
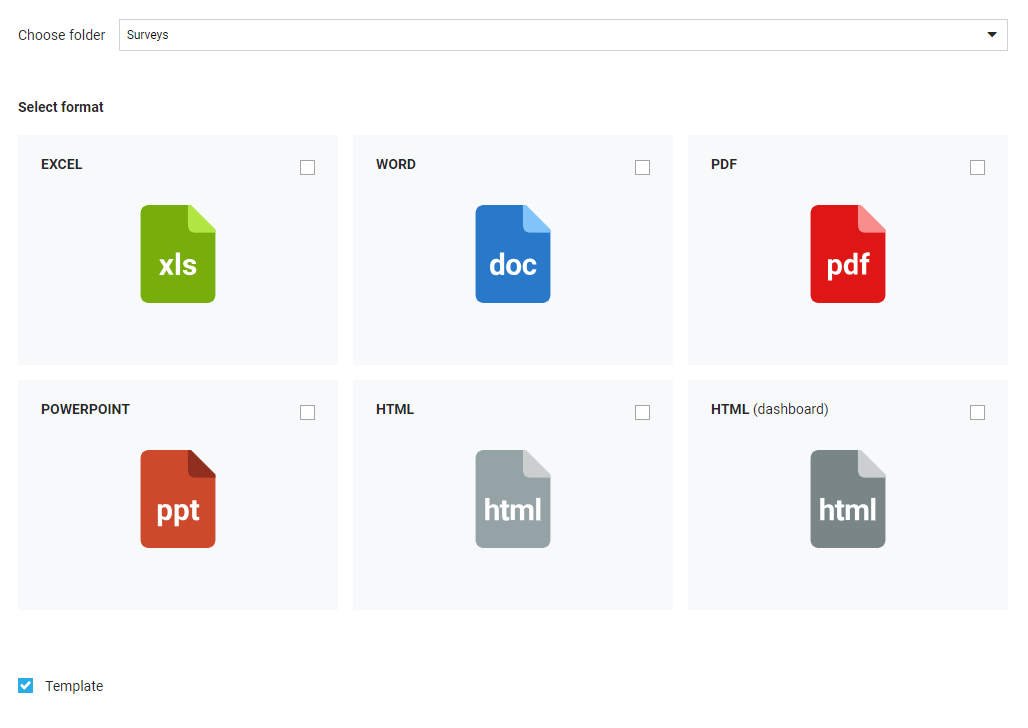
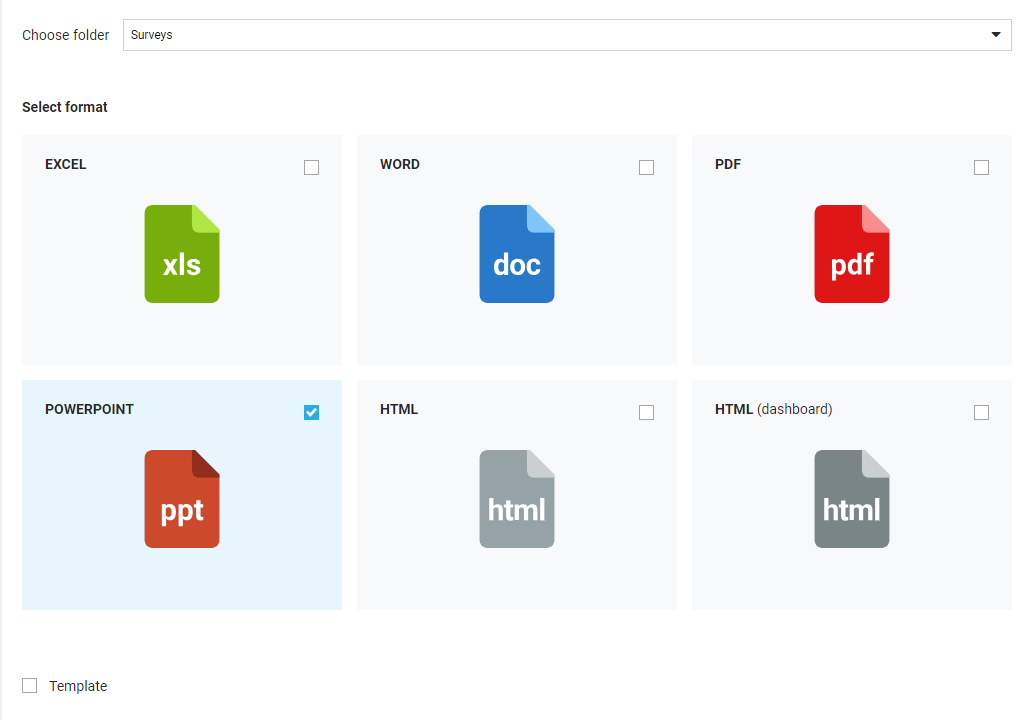
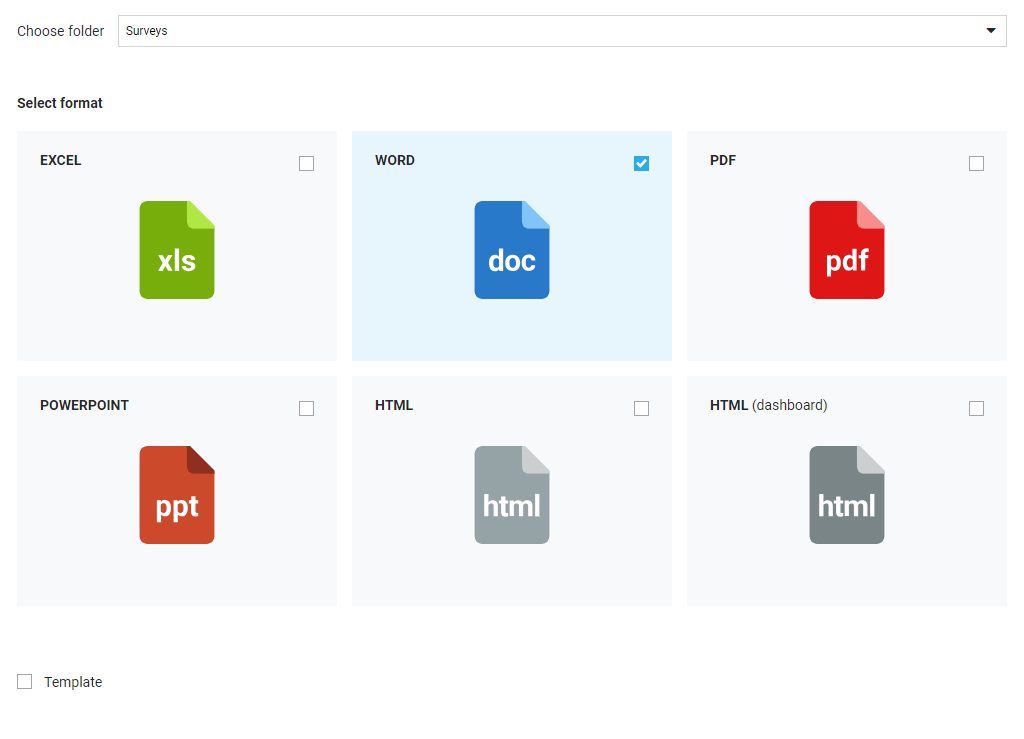
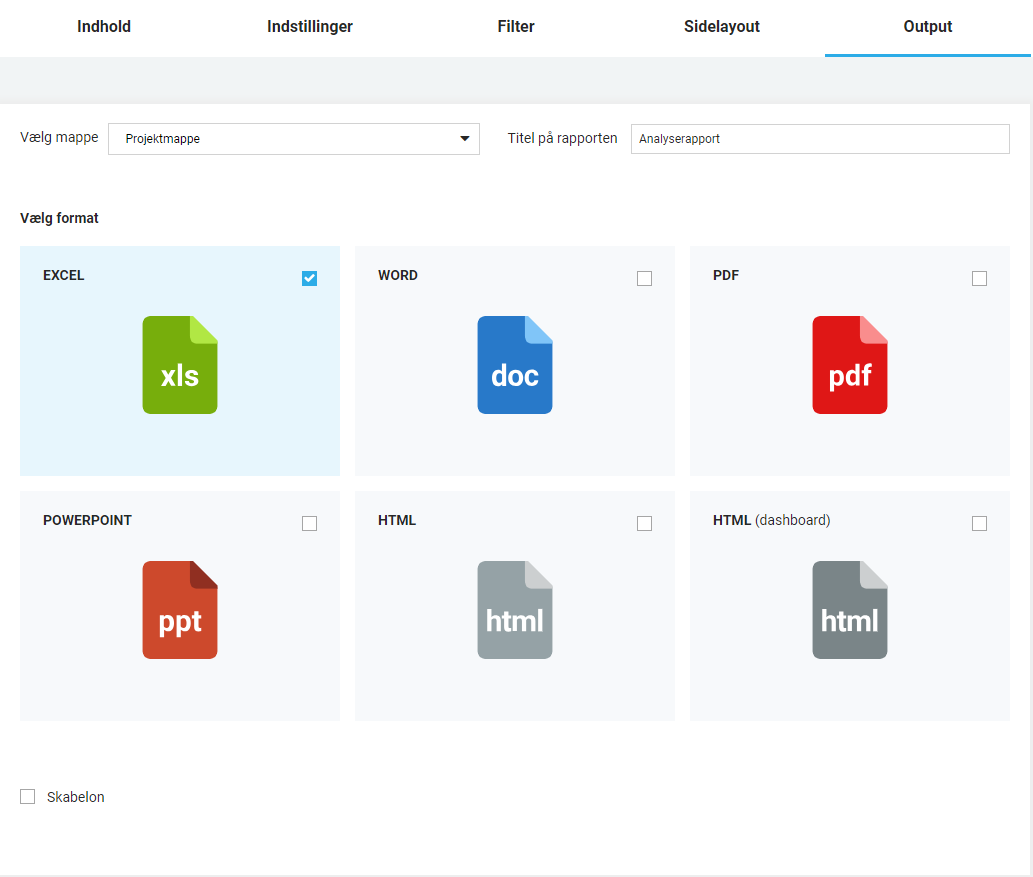
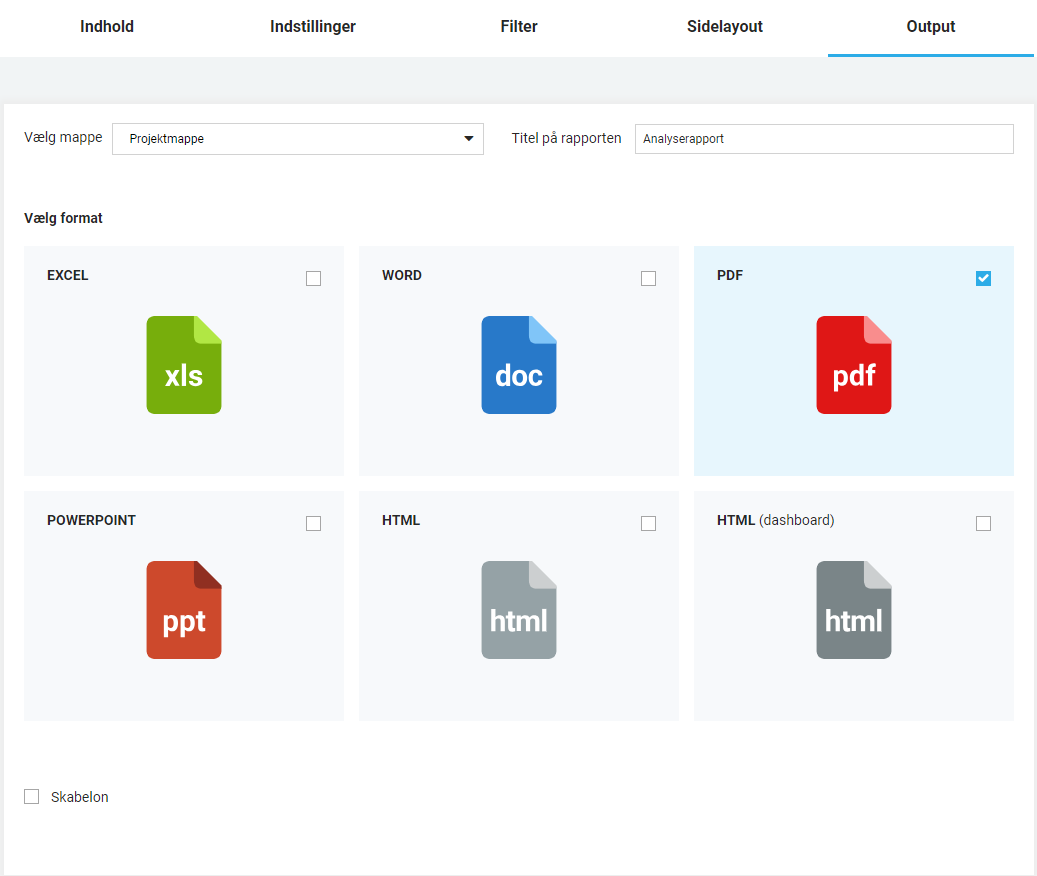
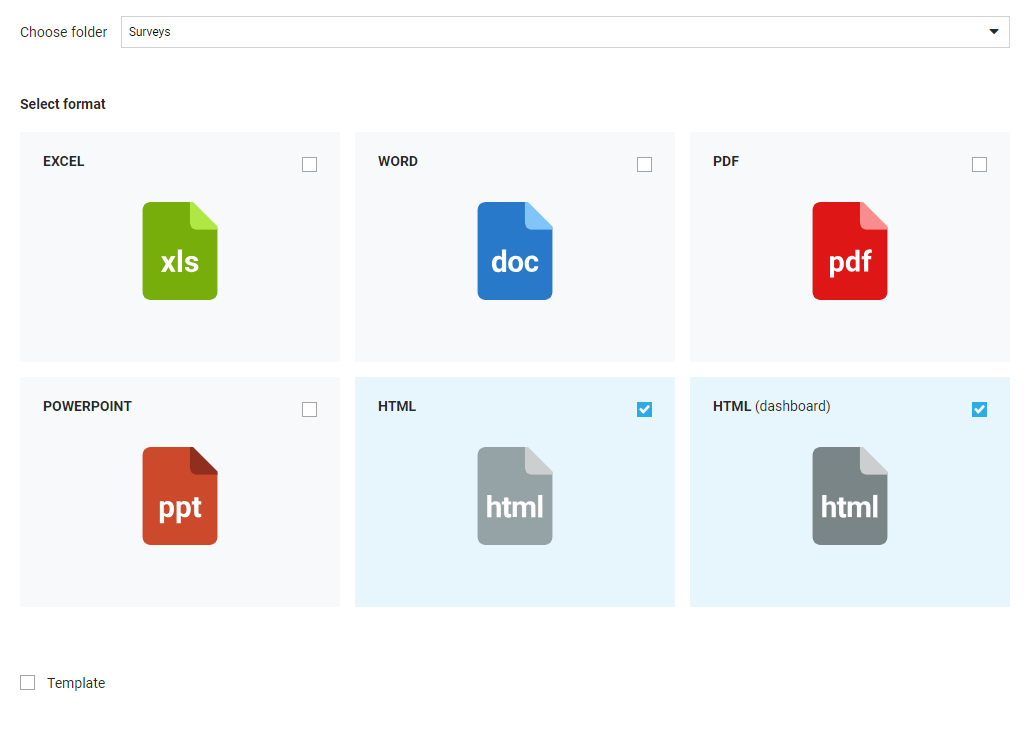
At the Output tab, select report fileformat, Excel, Word, PDF, Powerpoint, HTML or HTML Dashboard.
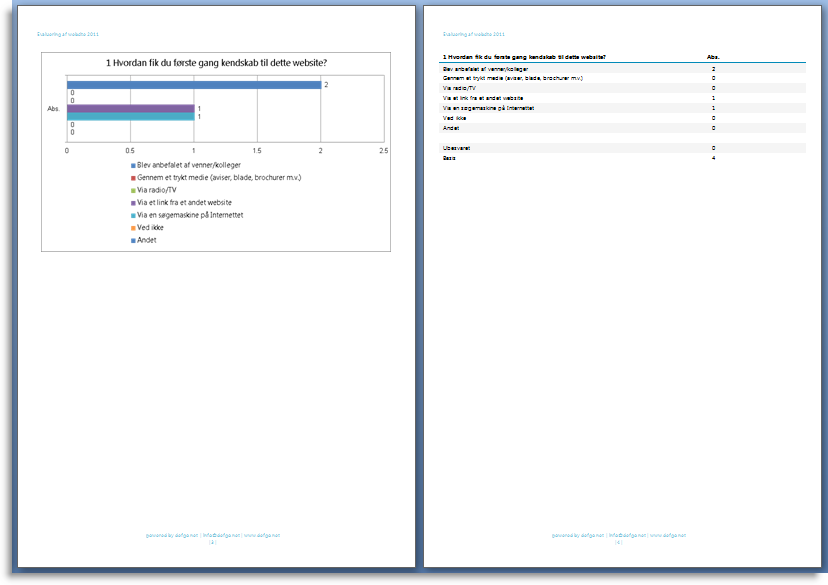
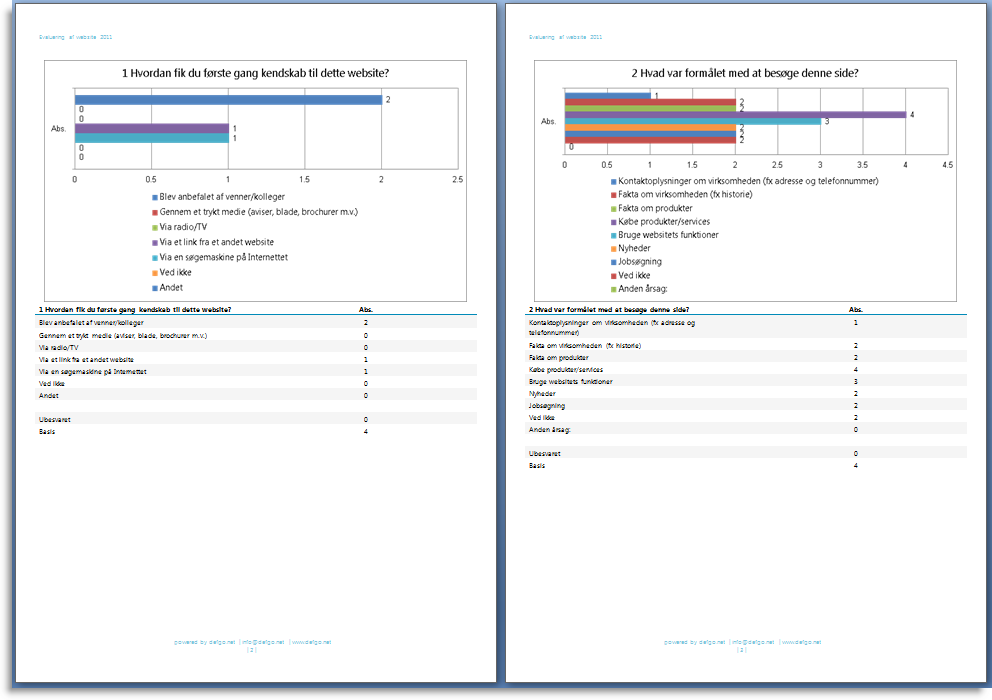
If you click Finish right away, the report output will be in an Excel format, including all questions with a graph
and a table for each question.
The report can be updated in two ways: Manually or by an automatic update.
MANUEL REPORT UPDATE
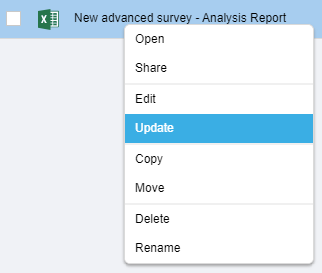
Click your rapport and select Update.
AUTOMATIC REPORT UPDATE
A report can be updated automatically, e.g. once a day.
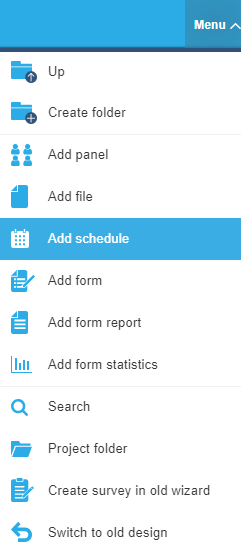
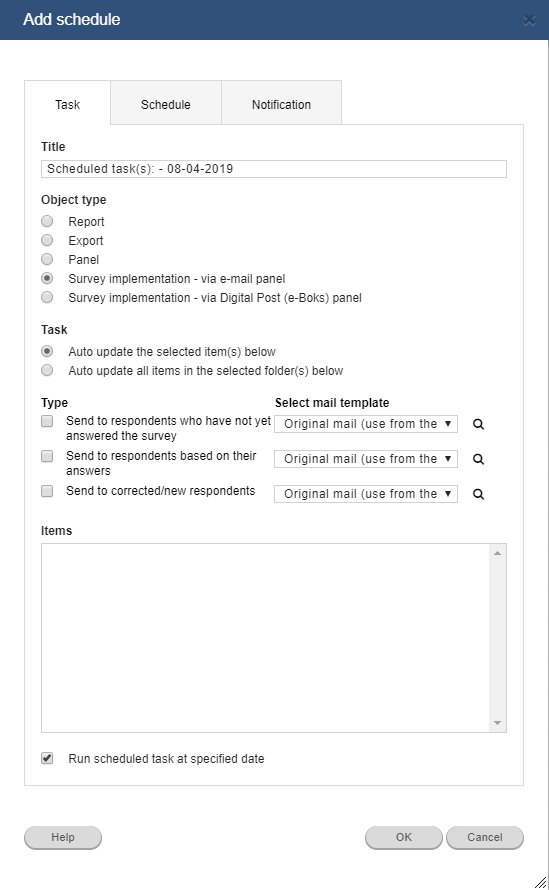
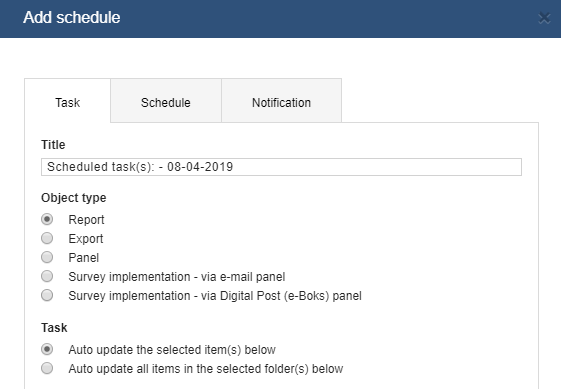
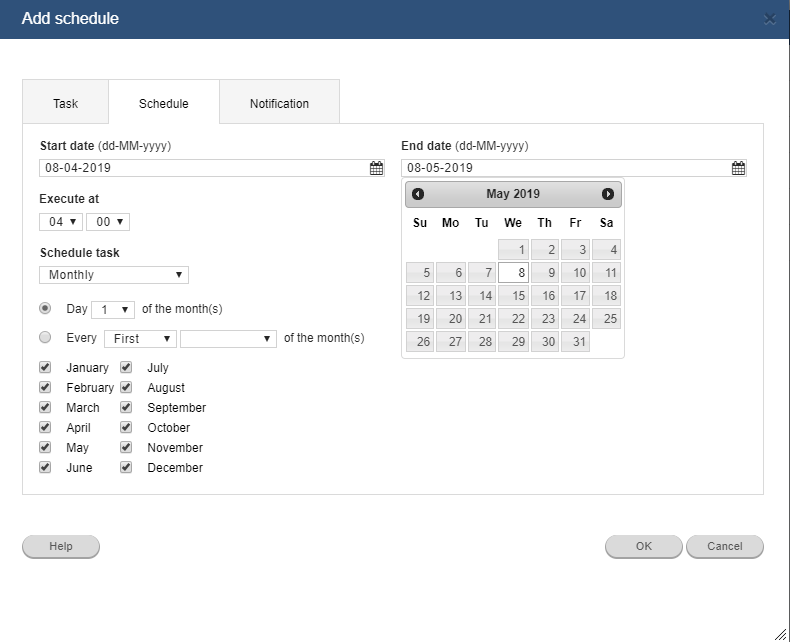
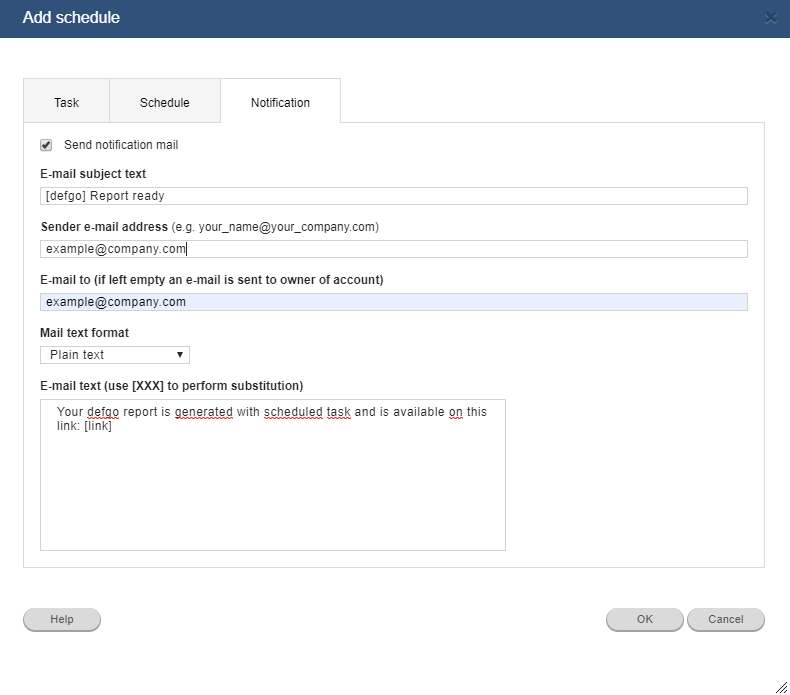
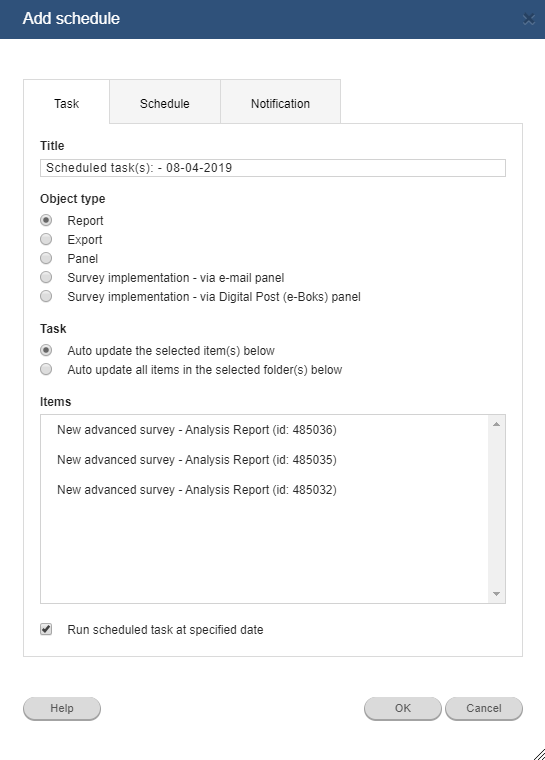
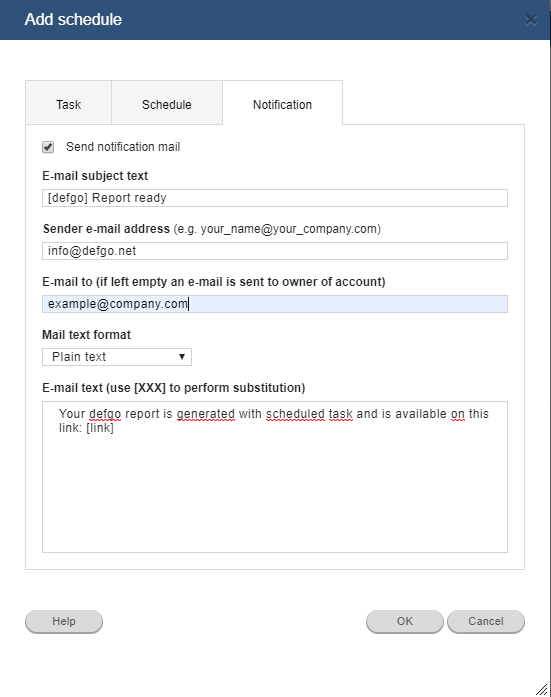
Click Menu and Add schedule.
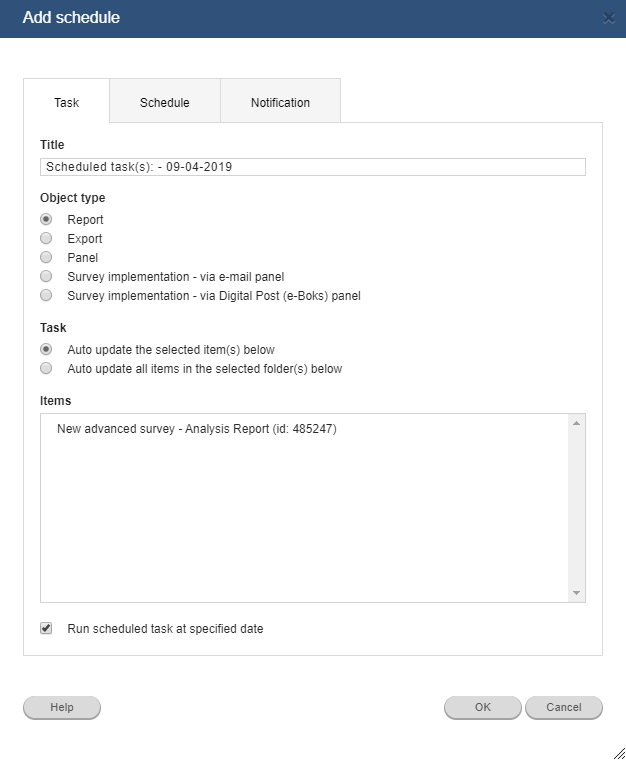
In the tab Task, select Report for object type,
and the report item to be updated.
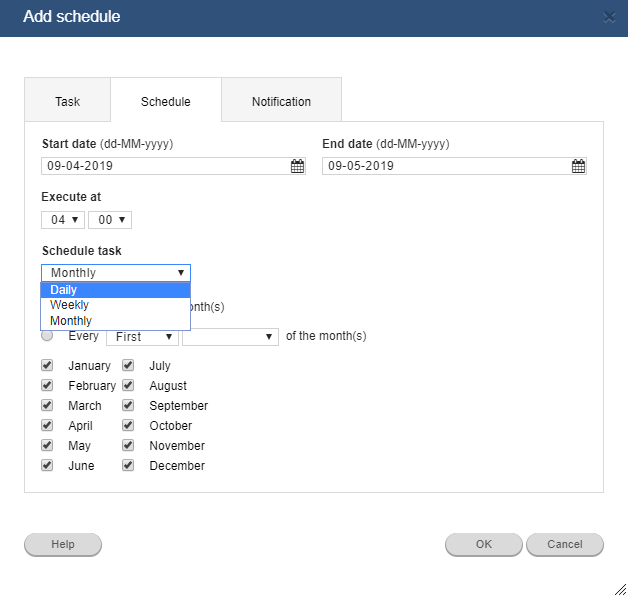
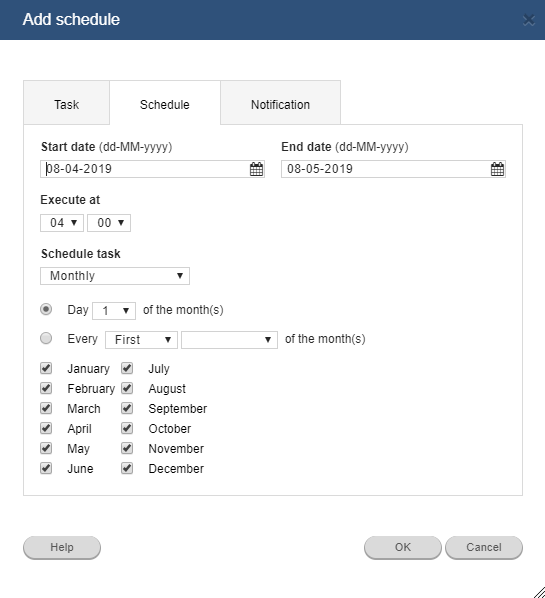
Then click the tab Schedule and set the frequency of the schedule task – daily, weekly or monthly.
At the last tab Notification, check the field Send notification mail
if you want an e-mail for every update and insert your own e-mail or the notifications will be sent
to the account e-mail instead.
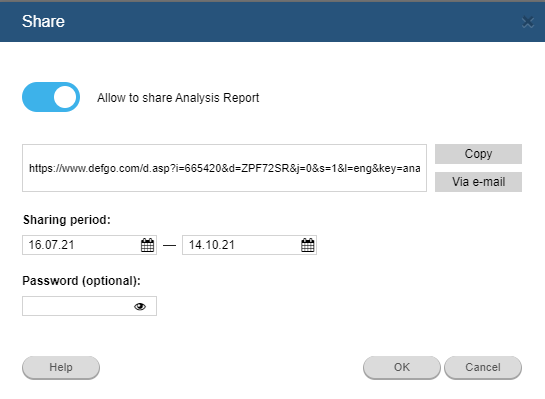
PUBLISH THE REPORT
Create a link to the report, and send this link to people with access to the report.
Click the link to access the actual report, with current state of answers –
you don't have to sign in to your defgo account and open the report.
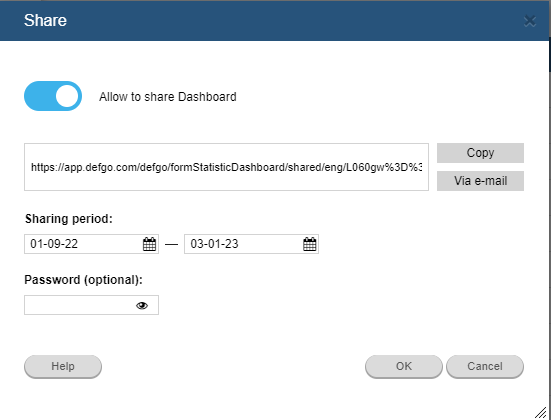
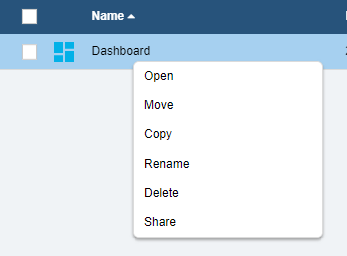
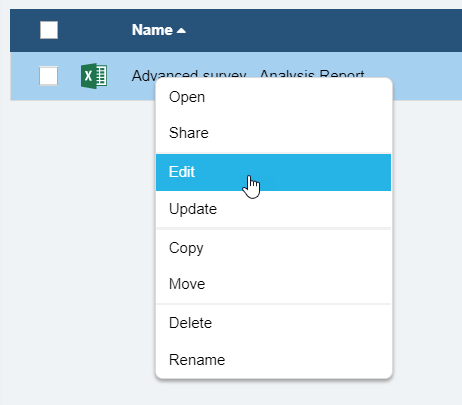
Click the report and select Share, to create a link.
The link can be forwarded as an ordinary e-mail or put in an intranet or website.
6.2 DATA CLEANING
Before creating a analysis report, clean your data for irrelevant answers or empty answers.
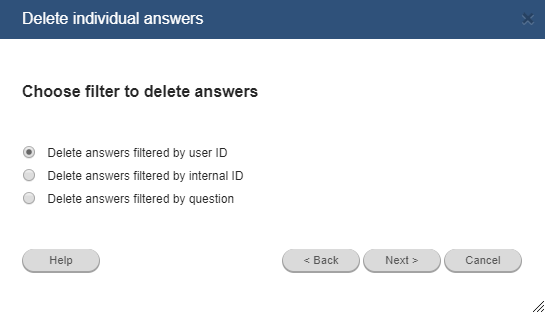
- Click your survey and select Answers.
- Select Delete individual answers (from summary) and click Next.
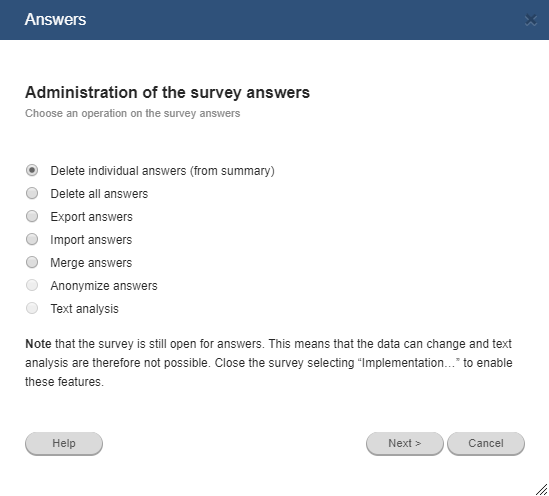
- Select Delete answers filtered by user ID.
- Select answers and click Next.
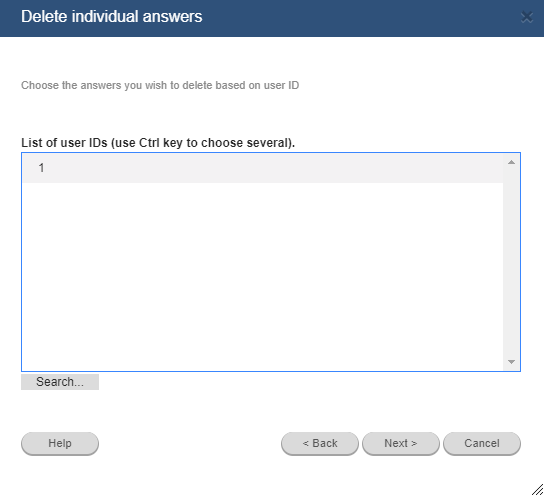
- Click Finish.
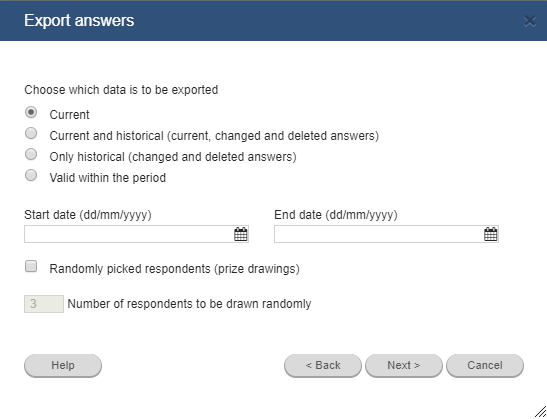
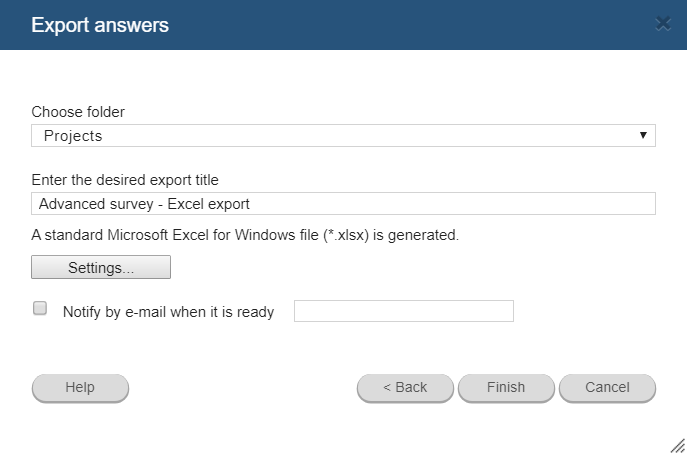
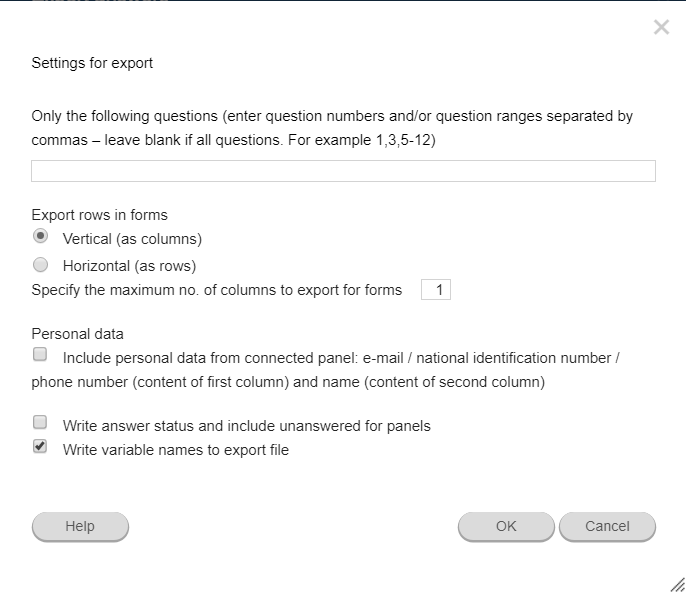
Note that you can see respondents not answering in the excel answer export.
 .
. i navigationsværktøjslinien.







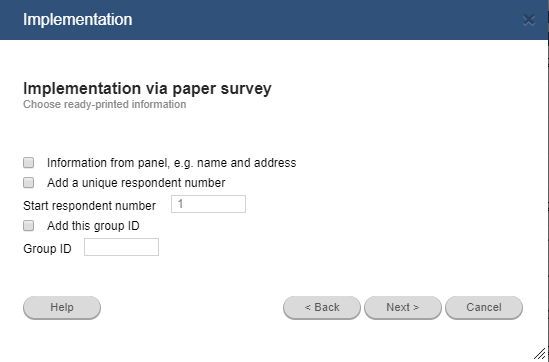
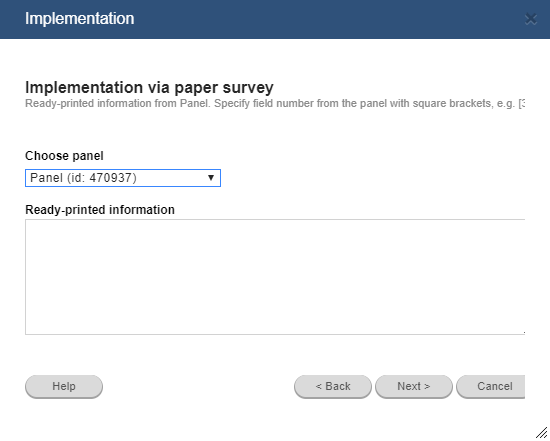
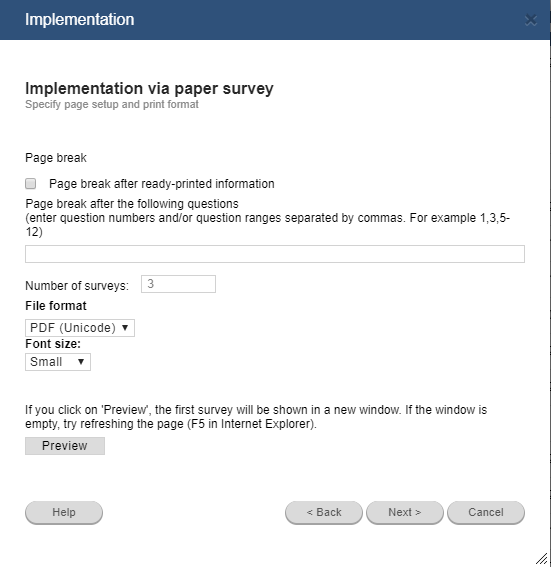








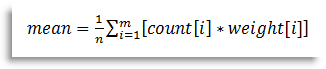
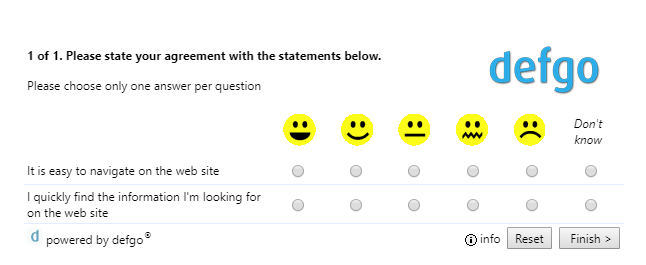
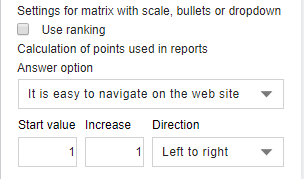
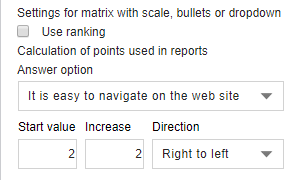


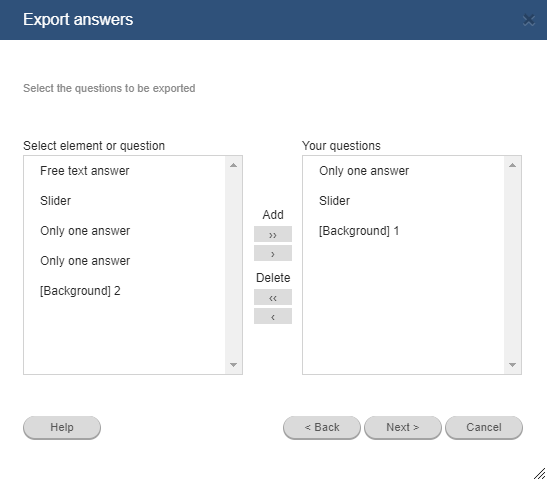
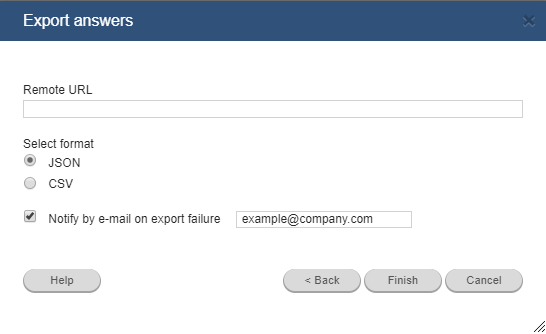
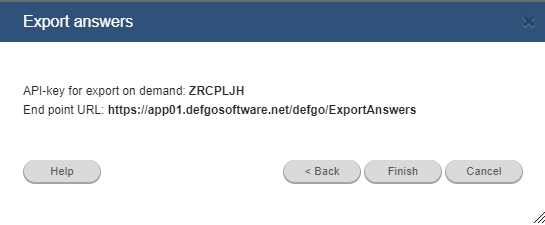
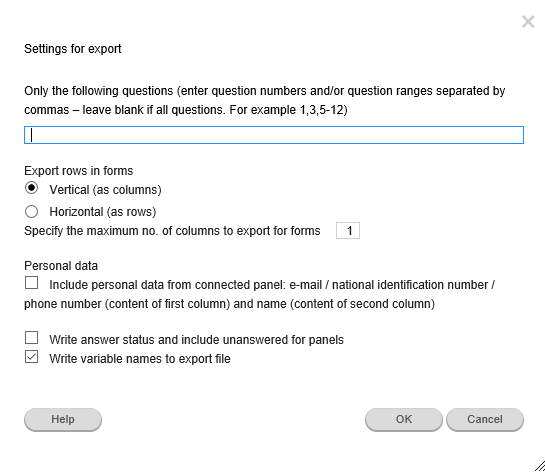
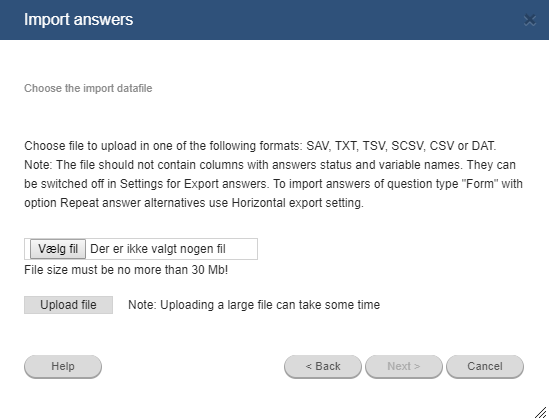
 ,
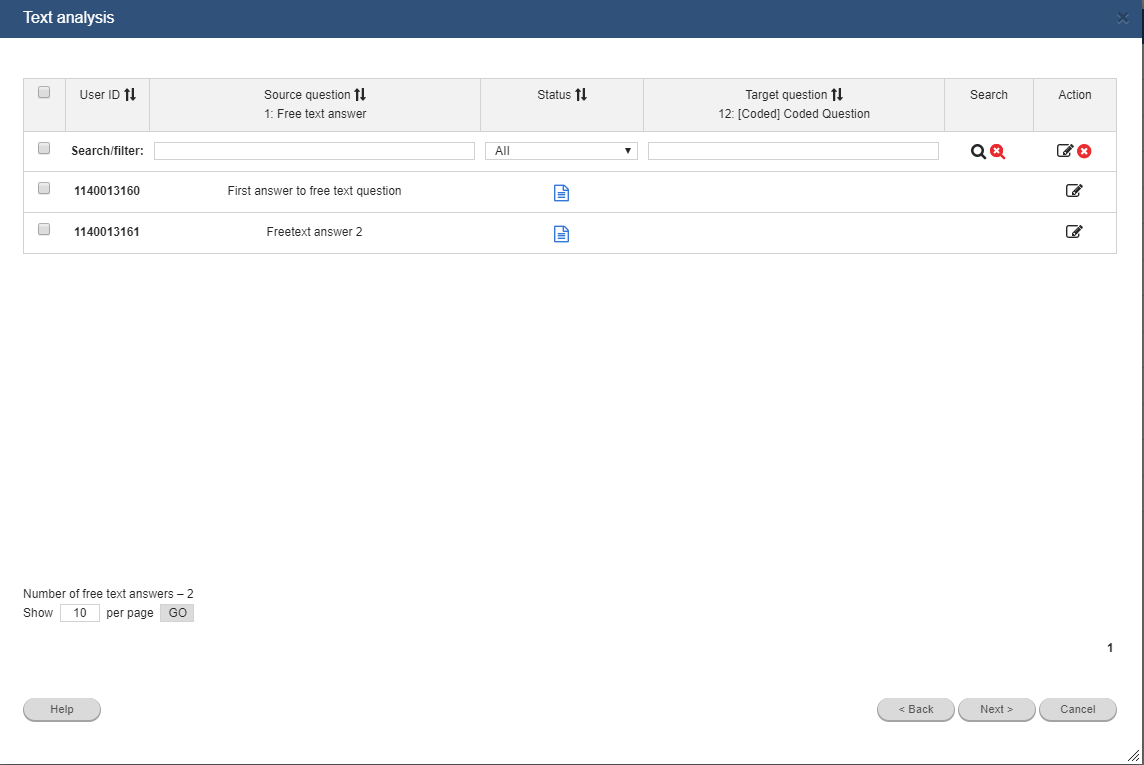
and select the closed answer the freetext answer can be attached to.
,
and select the closed answer the freetext answer can be attached to.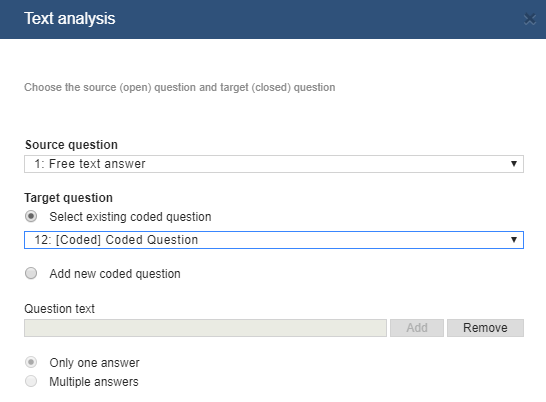






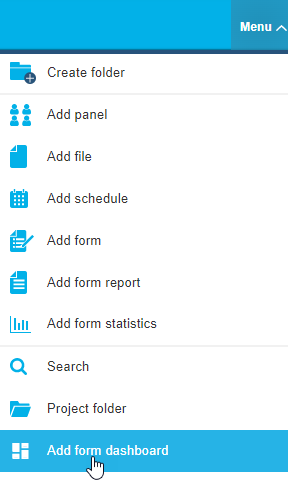
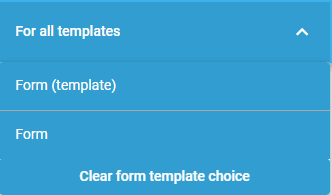
 Form dashboard settings
 Add chart
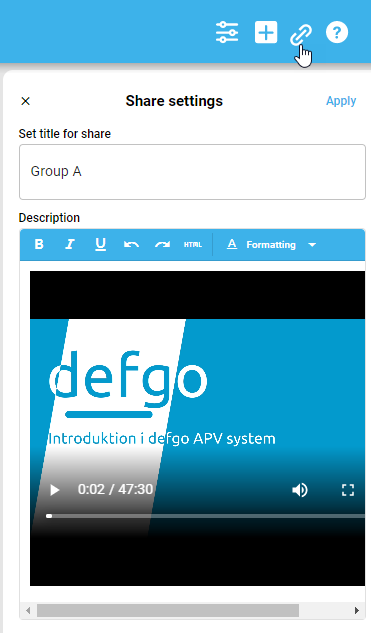
 Share settings
 Manual
 Finish
 to open or close form dashboard settings.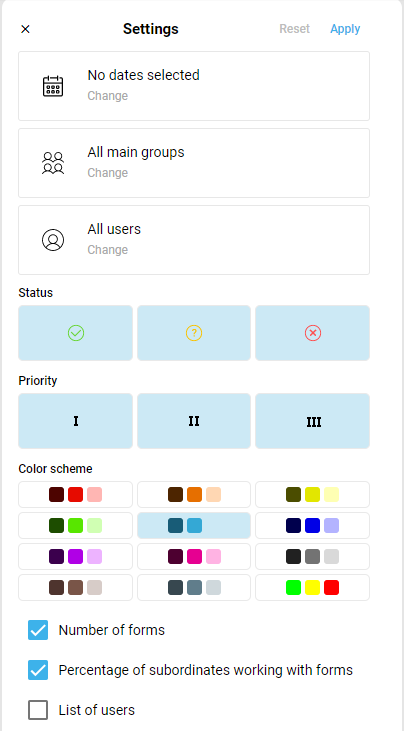
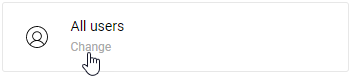
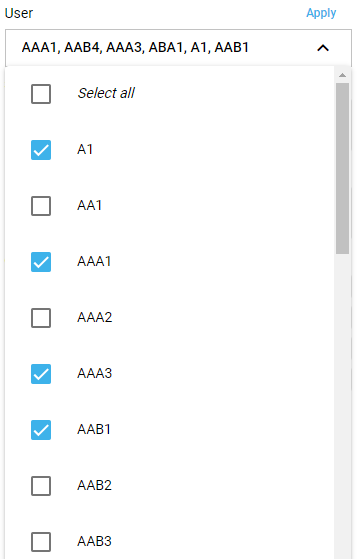
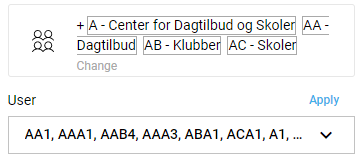
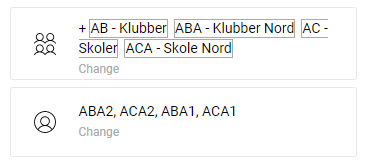
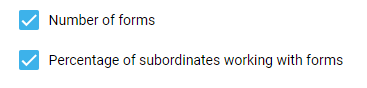

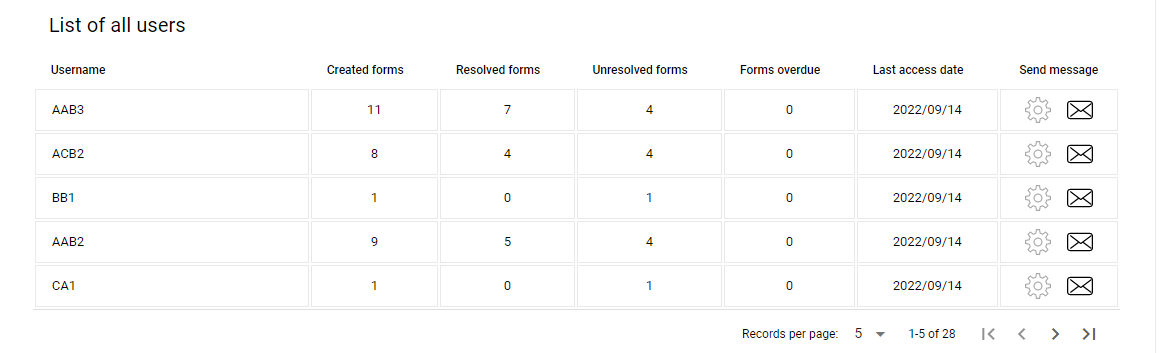
 to change user name, e-mail , see user group and send a message to the user.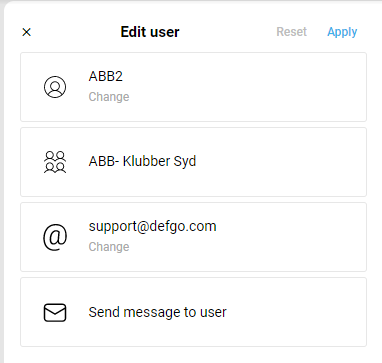
 opens the message window. Fill in the subject line, enter the text and click Send.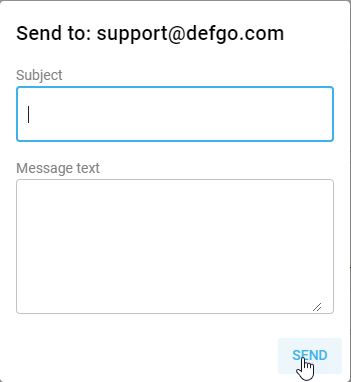
 in the top menu or click on Add new charton the dashboard.
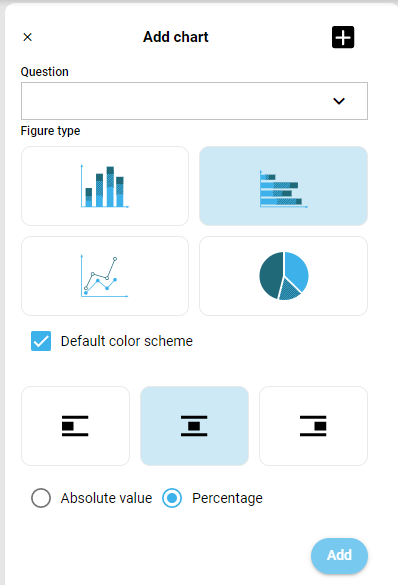

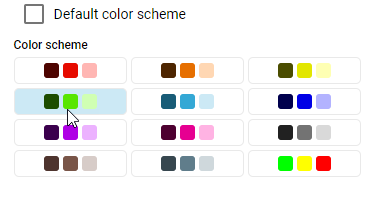
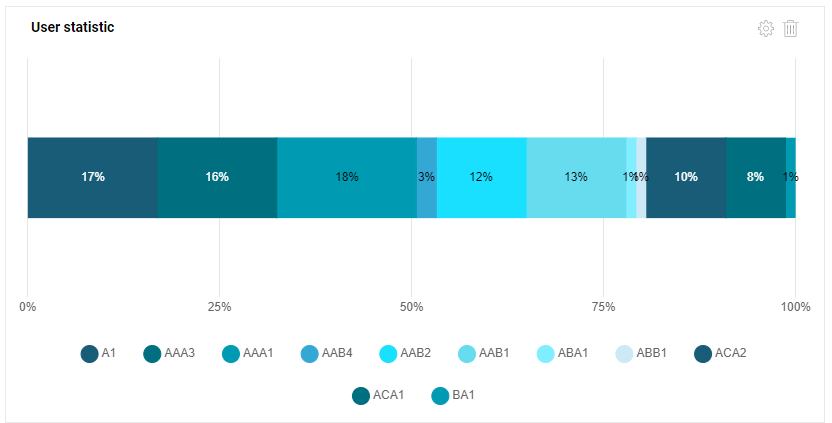
 , to delete -
  .
.
 in the top menu to open Share settings.